
Last updated November 15, 2026
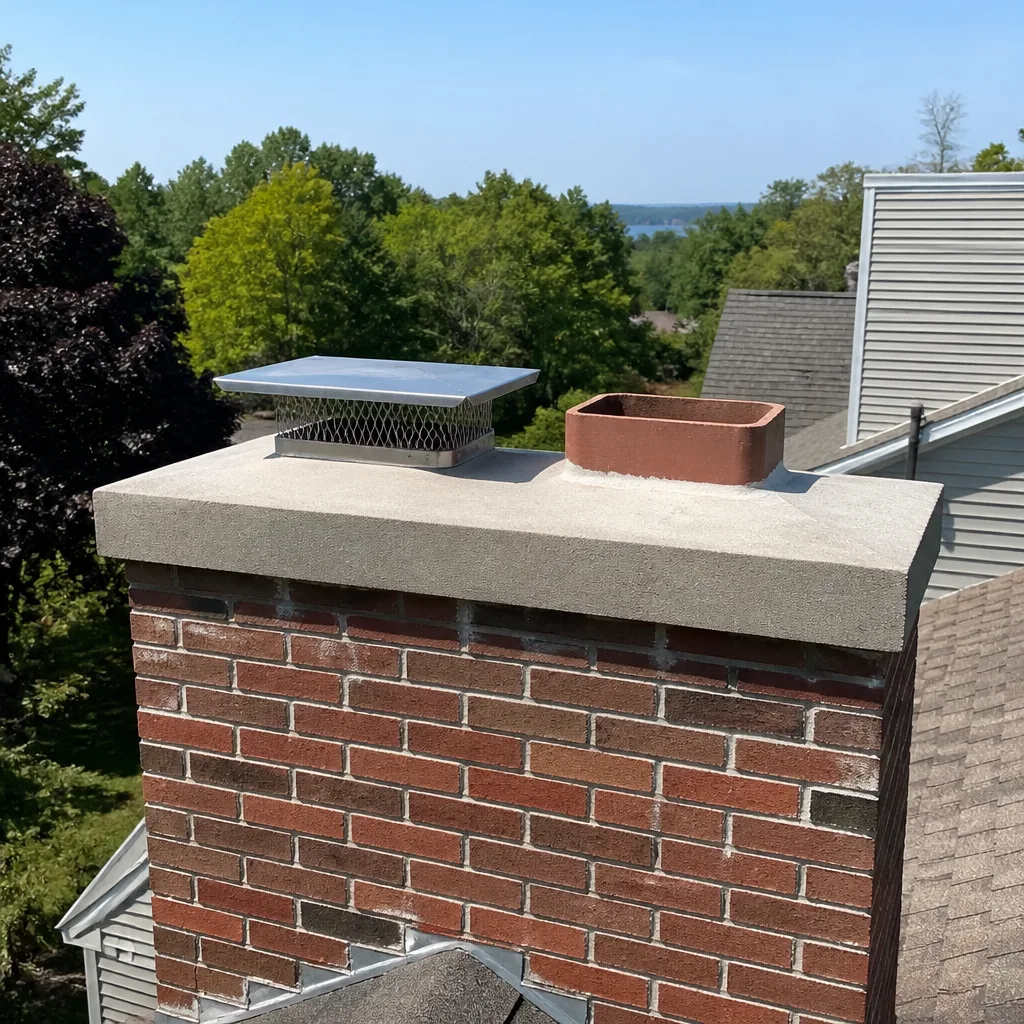 Sweep & inspection
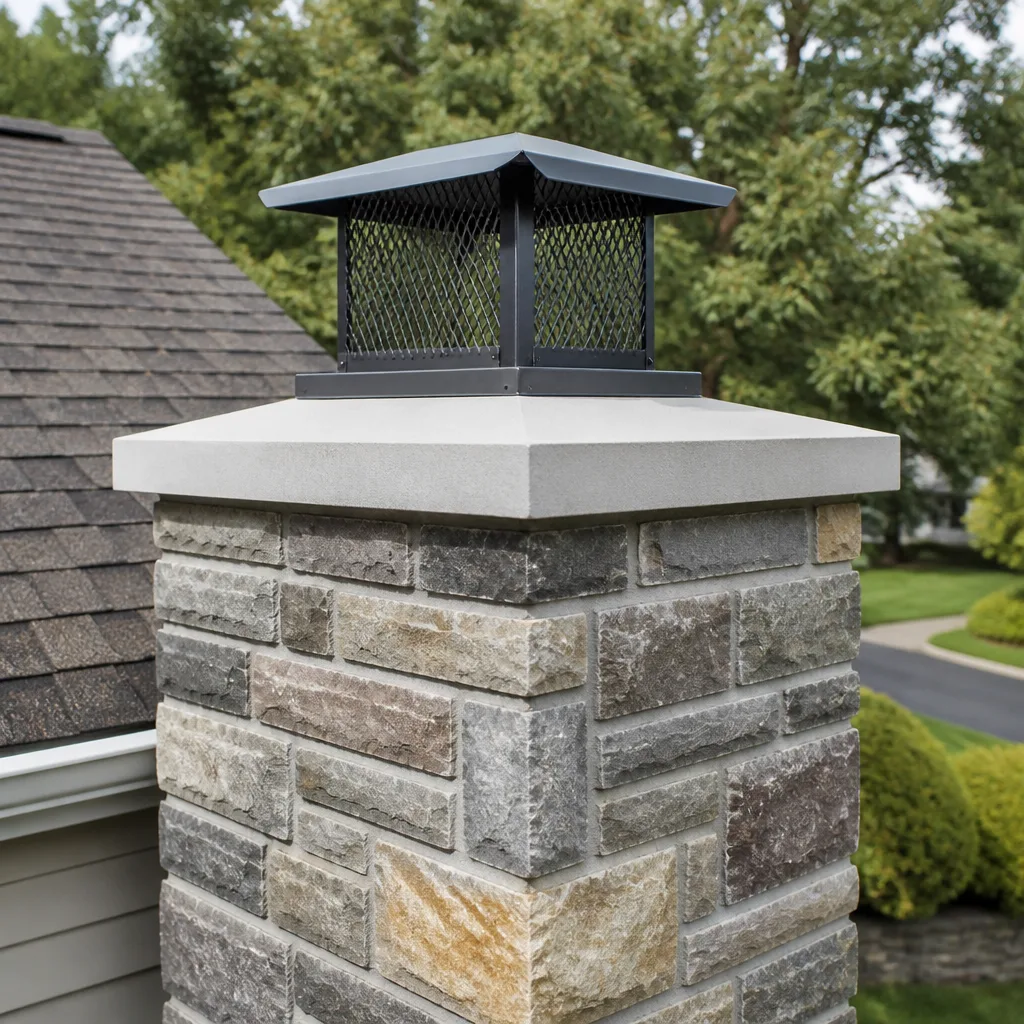 Caps & crowns
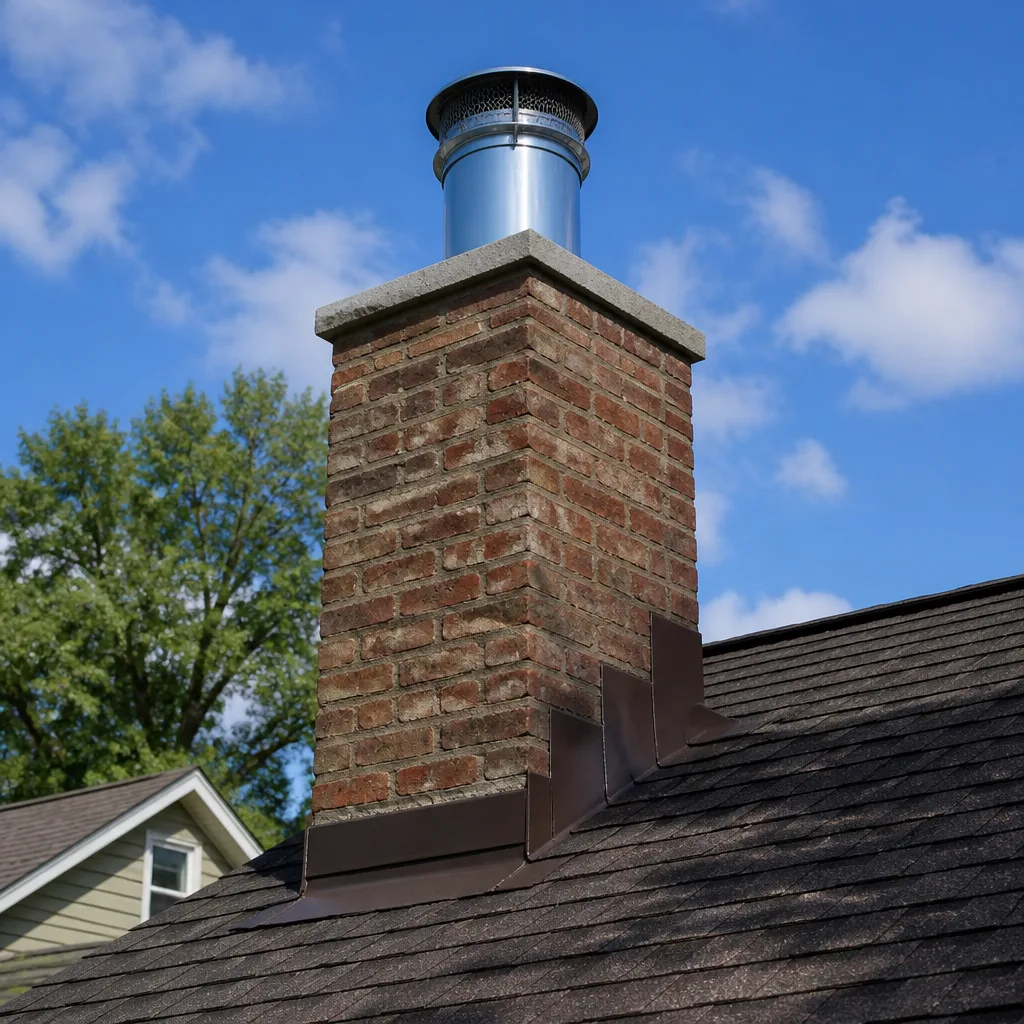 Flue relining
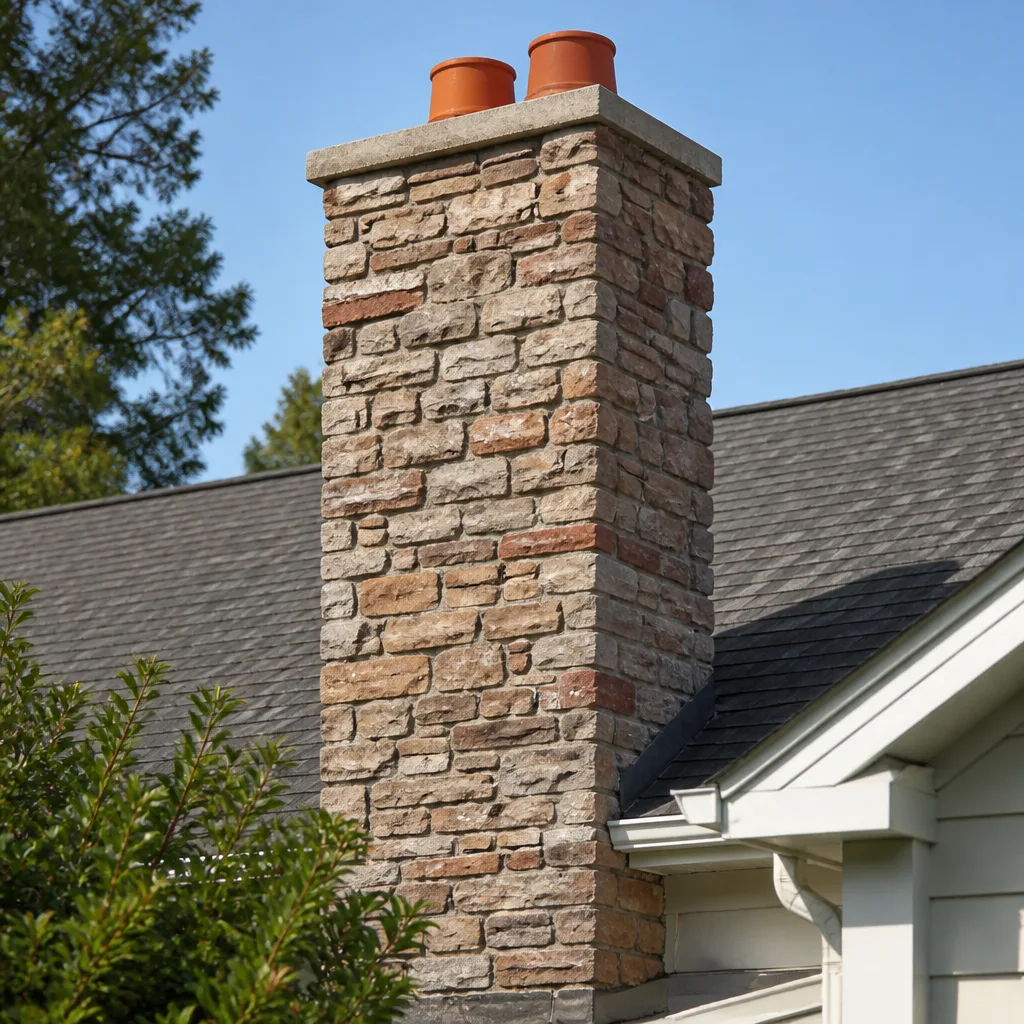 Masonry repair
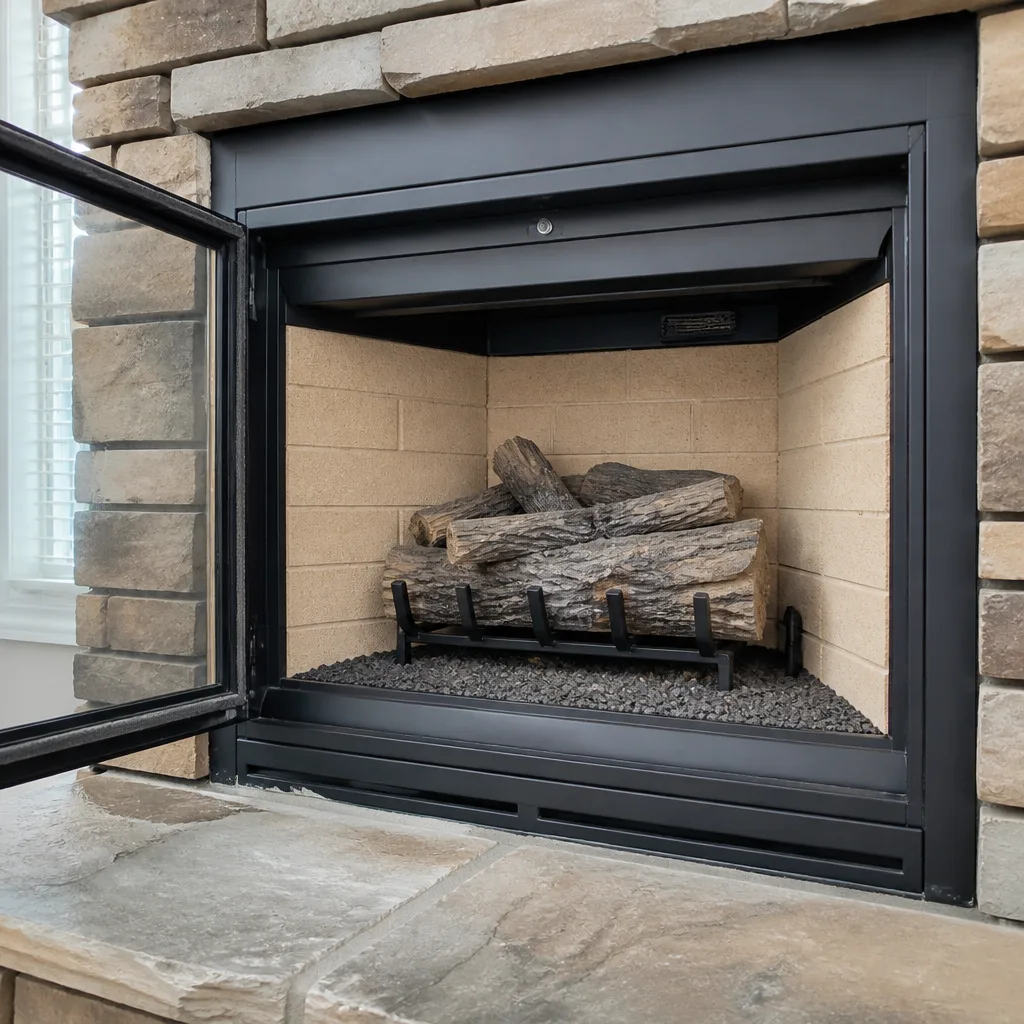 Gas fireplace service
Level 1 sweep and inspection to the NFPA 211 annual standard - flue, crown, cap, and flashing checked and photographed
Chimney sweep logs do not sweep chimneys. They loosen some creosote - which then falls where a brush and vacuum still have to collect it.
Chimney Sweep Maintenance Checklist for Deltona Homeowners
Most chimney checklists floating around online were written for a house that burns wood six months a year and sits under snow. That isn’t Deltona. Here, a fireplace runs a few weekends in January, sits cold through a humid spring, and takes a beating from summer thunderstorms that slam the cap and flashing. The failure modes are different, so the checklist has to be different too. A generic list tells you to “inspect the cap.” A Deltona-specific one tells you that a galvanized Gelco or Famco cap corrodes at a rate tied to how much humidity and rain it sits in, and shows you what early corrosion looks like before it turns into water inside your firebox. That’s what this guide covers: a month-by-month calendar, the visual indicators you can check from the ground, and the line between what you can do yourself and what needs a sweep with a camera.
Quick Answer
A chimney maintenance checklist for a Deltona home should be built around three local realities: humidity-driven mortar spalling, animal intrusion, and light but sporadic burning. Check your chimney visually from the ground every month, book a professional sweep and inspection before the burn season starts in fall, inspect again after hurricane season, and document the chase with dated photos so you can track slow deterioration year to year. Anything involving the roof line, the flue interior, or the masonry crown belongs to a trained sweep, not a homeowner on a ladder.
Styles & brands we work with
- Sweep & inspection
- Caps & crowns
- Flue relining
- Masonry repair
- Gas fireplace service
Table of Contents
- Why a Deltona Checklist Looks Different
- The Month-by-Month Maintenance Calendar
- What You Can Check Yourself From the Ground
- What Requires a Professional Sweep
- What to Verify After a Summer Thunderstorm
- Spring Moisture Assessment and Mortar Health
- How to Document Your Chimney’s Condition
- Common Mistakes to Avoid
Why a Deltona Checklist Looks Different
Deltona’s climate is the single biggest driver of how a chimney ages here. Winters are mild, so most households burn intermittently rather than daily. That sounds gentle, but sporadic use is actually harder on a chimney than constant burning in some ways: creosote builds up in thin layers over many short fires, moisture has long stretches to work into masonry between burns, and small animals find a cold flue an inviting place to nest for months at a time. A chimney that gets used every night in a cold climate stays hot and dry. A Deltona chimney spends most of the year cool and damp.
The humidity is the other half of the story. Central Florida’s air holds moisture year-round, and masonry is porous. Water vapor moves into mortar joints and brick faces, and when it works back out it can leave mineral deposits and drive what’s called spalling – brick faces flaking and popping off. That process is slow, and it’s exactly why a documented baseline matters. You won’t notice spalling progressing month to month, but comparing photos from one spring to the next shows it plainly.
Animal intrusion rounds out the Deltona picture. Birds, squirrels, and raccoons look for sheltered spots, and an uncapped or damaged flue is a prime candidate. A nest blocks the flue, which is a carbon monoxide and chimney fire risk the moment you light a fire. Keeping the cap intact and screened is one of the highest-value things a Deltona homeowner does, and it’s also one of the cheapest.
None of this means Deltona chimneys are in worse shape than anywhere else. It means they fail for reasons a snow-belt checklist doesn’t address. If you want the full picture of what routine professional care looks like in this city, the team behind Chimney Sweep Deltona handles sweeps, repairs, and inspections under one roof, and it frames every recommendation around what the camera actually shows. Our technicians have up to 9 years of experience working on exactly these failure patterns.
The Month-by-Month Maintenance Calendar
Here is the maintenance calendar we’d hand a Deltona homeowner, mapped to the seasons this region actually has. You won’t do something every month, but the anchors – pre-burn-season prep in October, post-storm inspection in fall, spring moisture assessment – keep the chimney from drifting for years without attention.
- October – pre-burn-season prep. Book your professional sweep and inspection before you light the first fire. This is when buildup from last season gets cleared, the cap and screen get checked, the damper is confirmed to operate, and any animal nest from the off-season is removed. If a repair is needed, you find out now, not on the first cold night.
- November through February – active burn season monitoring. Do a monthly ground-level look at the cap, chase, and firebox. Check that the damper opens and closes fully. Watch for smoke spilling into the room when you light a fire, which suggests a draft or blockage problem. Keep a log of how often you burn.
- March – spring moisture assessment. After the burn season, look at the masonry for efflorescence or new cracks. This is the best time to catch water intrusion before the wet summer arrives. If you noticed rust staining or water in the firebox over the winter, get it looked at now.
- April through May – repair window. Storm season is coming. If the inspection flagged mortar work, a crown issue, or a cap problem, schedule it now while the weather is typically calmer and before the heavy rains arrive.
- June through November – hurricane season. After any significant storm, walk the exterior and check the cap, flashing, and chase for displacement. This is the single most important post-storm check in this region.
- December – year-end documentation. Take a fresh set of dated photos and compare them to your baseline. Note anything that looks new.
The rhythm matters more than the exact month. If you burn heavily in January, your sweep timing may shift earlier. If you barely use the fireplace, the moisture and animal checks still matter every season. For a deeper look at what a routine cleaning visit covers, our chimney sweep page walks through the process step by step.
What You Can Check Yourself From the Ground
Plenty of chimney monitoring happens without a ladder. The trick is knowing what you’re looking at, so you can report specifics to a sweep rather than “something looks off.” Here are the visual indicators a Deltona homeowner can catch from the yard, the driveway, or inside the firebox.
Exterior signals
- Efflorescence on the chase. A white, powdery staining on brick or stucco is a sign moisture is moving through the masonry and leaving salts behind. It’s not an emergency, but it’s a flag that water is getting in somewhere – often at the crown, flashing, or a cracked cap.
- Rust staining below the cap. Streaks of rust running down the chase below the cap are one of the clearest early warnings. A galvanized Gelco or Famco cap is a durable product, but in Central Florida’s humidity it eventually corrodes, and a corroded cap stops doing its job. Rust staining tells you water is passing where it shouldn’t.
- Mortar joint cracking. Look along the mortar lines with your eyes, not your hands. Fine hairline cracks come and go with temperature, but gaps you can slide a fingernail into, or mortar that’s visibly receding, means the joints are ready for repointing.
- Spalled brick faces. Brick that has flaked, pitted, or lost its front face is spalling. This is the humidity signature in Deltona, and it’s worth photographing the day you first notice it.
- Cap displacement. The cap should sit level and centered. If it’s tilted, lifted on one side, or the mesh screen has holes, it needs attention before animals take advantage.
Interior signals
- Water in the firebox. Any pooling or damp ash after a rain points to a failure above – usually the crown, flashing, or cap. This is the one interior sign that shouldn’t wait.
- Damper operation. Open and close the damper fully by hand. It should move smoothly and seat properly. A damper that sticks open or won’t close fully is a homeowner-serviceable item to check, but a broken one needs a pro.
- Glass door cleaning. Cleaning the glass on your fireplace doors is completely safe to do yourself, and cleaner glass helps you see draft problems early. Use a proper glass cleaner, not an abrasive that scratches.
- Smoke smell in the house. A faint smoke smell on a warm, humid day with no fire burning often means the flue is pulling damp air and odors back inside. That’s usually a sign of a dirty flue or a weak cap, and a sweep can confirm which.
The important boundary: if the check requires you to get on the roof, look down the flue, or stand on a ladder next to a chimney, it isn’t a homeowner task. Height work and interior flue inspection belong to a trained professional. Work inside your home, on the ground, and inside the firebox. Leave the rest.
What Requires a Professional Sweep
There’s a clear line between homeowner checks and the work that needs a sweep with proper equipment. Crossing it yourself isn’t just unnecessary, it’s where injuries and missed problems happen. Anything on this list should be handled by a trained technician with camera equipment.
- Interior flue inspection. Only a camera on a flexible rod lets you see the full length of the flue, the state of the liner, and any cracks, gaps, or glazing. A visual look down from the firebox shows almost nothing of what matters. This is where “we show you what we find” starts – you see the camera footage, not just a verbal report.
- Creosote removal beyond the light stage. Light, dusty creosote can be brushed out. Glazed, hardened creosote – the stage that actually fuels chimney fires – requires mechanical removal by a sweep. Homeowner brushing tools don’t touch it.
- Roof-level work. Cap replacement, flashing repair, crown work, and masonry repointing all require getting on the roof safely. That’s a professional job, full stop.
- Liner evaluation and replacement. If the flue is damaged, deteriorated, or improperly sized, a flexible relining solution like a DuraFlex system may be the right repair. That’s a structural decision, not a cleaning task, and it’s part of the chimney repair side of the work.
- Resurfacing evaluation. HeatShield ceramic resurfacing can restore a deteriorated liner without full replacement in some cases, but only a trained applicator can tell you whether your flue qualifies. That capability is one reason a specialist beats a general handyman for chimney work.
- Carbon monoxide safety confirmation. If you have any doubt about the flue’s integrity, a professional inspection is how you confirm it’s safe to burn. That’s not something to guess at.
Book the sweep before burn season so there’s time to handle any repair it uncovers. If the inspection finds something, you want the option to fix it calmly, not in a rush. And if it finds nothing, that’s just as valuable – you get a documented clean bill of health for your records. A Deltona home’s chimney is worth that check.
What to Verify After a Summer Thunderstorm
Hurricane season runs June through November, and a single strong thunderstorm can do what a whole winter of burning won’t. Wind-driven rain, gusts, and blowing debris stress the parts of the chimney that protect everything below them. Here’s the short list to walk after any significant storm.
- Check the cap. Is it still level and centered? A lifted or tilted cap has usually lost a fastener or taken a direct hit. Any gap between the cap and the flue top lets water and animals in.
- Check the flashing. The flashing is the metal seal where the chimney meets the roof. Look for lifting edges, gaps, or visible separation. Flashing failure is one of the most common ways water ends up inside a home after a storm.
- Check for water in the firebox. Look inside the firebox for pooling or damp ash. If water got in, it came through the crown, flashing, or cap – and the crown is the first suspect.
- Check the crown for cracking. The crown is the concrete cap at the very top of the masonry, and it’s designed to shed water away from the flue. Cracks let water straight down into the masonry. A crown failure is a repair, not a cleaning, and it’s a common post-storm finding in this region.
- Check the chase for new staining or spalling. Compare against your baseline photos. New rust streaks or fresh spalling right after a storm points to water intrusion that started up top.
- Check the screen mesh. Wind can tear mesh, and a torn screen is an open door for animals. It’s a cheap fix that prevents an expensive problem.
The goal isn’t to diagnose the damage yourself – it’s to catch the obvious signs quickly, so you can get a professional inspection before a small failure turns into water inside your walls. A cap that shifted in the wind is a straightforward repair. The same cap left crooked for a season can mean water-soaked masonry and a much larger job. If your post-storm walk turns up anything on this list, don’t wait.
Spring Moisture Assessment and Mortar Health
Spring is the best time of year to assess how moisture has affected your chimney over the cooler months. The burn season is winding down, the firebox is cold, and the summer rains haven’t arrived to mask the signs. A few minutes of inspection now can catch water intrusion before it does real damage.
The two things you’re looking for are efflorescence and spalling, both described above, plus any change in how the mortar joints look compared to last year. Mortar is softer than brick by design, and in a humid climate it’s the first thing to wear. Cracking mortar joints let water into the wall, and once it’s in, it works its way down and out through the interior – which is how a chimney problem shows up as a stain on the ceiling of the room below.
There’s also a health check to run on the flue itself. After a season of sporadic burning, the creosote layer inside the flue is the thing to have evaluated. Light buildup is normal and gets brushed out. What you don’t want is the hardened stage sitting in there all spring and summer, pulling damp air and holding moisture against the liner. That’s why we recommend the annual sweep before the next burn season, not just after it.
What spring repair work often looks like
- Repointing mortar joints. Grinding out failed joints and repacking fresh mortar is a masonry repair that restores the weather seal.
- Crown repair or rebuild. A cracked or crumbling crown gets repaired or rebuilt so it sheds water correctly again.
- Cap replacement. A corroded cap is swapped for a new one. We specify professional-grade caps from brands like Gelco, Famco, and Olympia Chimney, and we tell you which and why, so you can verify what’s going on your home.
- Liner evaluation. If the spring inspection suspects liner damage, a camera inspection confirms it, and options like HeatShield resurfacing or a DuraFlex relining are discussed based on what the camera shows.
Spring is also the right time to plan the work, because the weather window is usually calmer than the storm season that follows. If you want a straight answer on whether a repair can wait, a professional inspection is how you get it. Our repair services are set by a written estimate, and nothing gets recommended without camera evidence you can see yourself.
How to Document Your Chimney’s Condition
The single most underrated maintenance habit is documenting your chimney with dated photos. Deterioration is slow and easy to miss month to month, but side-by-side photos from one year to the next tell the story plainly. A documented baseline also gives any future sweep a reference point, and it protects you if you ever sell the house.
- Pick fixed camera positions. Choose spots – one from the driveway, one from the side yard, one of the firebox interior – and shoot from the same spot each time. Consistency is what makes comparison work.
- Photograph the specific indicators. Get a clear shot of the cap, the flashing, the crown, the chase surface, and the firebox floor. Those five frames cover the highest-risk areas.
- Date every photo. Use your phone’s built-in date stamp, and name the files with the month and year. “Chimney_cap_2026-03.jpg” beats “IMG_4471” every time.
- Note conditions in a simple log. One line per photo set: weather, whether the fireplace was used recently, and anything you noticed. This makes the comparison meaningful.
- Keep the professional report with it. When a sweep does an inspection, keep the written report and photos from that visit alongside your own. Together they form a complete record of the chimney’s condition over time.
- Compare annually. Once a year, put this year’s photos next to last year’s. New rust streaks, fresh spalling, or a shifted cap jump out instantly in a comparison, even when you missed them in person.
A documented record is also a lever for honest repair recommendations. When you can see your own year-over-year photos, you can compare them to what a sweep reports. That’s how a transparent process works – daylight on the evidence, in your hands as well as ours.
Common Mistakes to Avoid
- Treating “no fire in months” as “nothing to check.” A cold, damp flue is prime real estate for animals and a target for moisture. The seasons you don’t burn are when water and wildlife do their damage, so keep the monthly ground checks going year round.
- Assuming a mild Deltona winter means a chimney lasts longer. Mild means intermittent use, not no wear. Sporadic burning builds creosote in thin layers and gives moisture long stretches to work into the masonry. Frequency of use isn’t the same as condition.
- Skipping the post-storm walk. A single summer thunderstorm can shift a cap or open the flashing. Walking the exterior after every significant storm in hurricane season is the cheapest insurance there is on a Deltona chimney.
- Climbing the roof to “just take a look.” The most common homeowner injury around chimney maintenance is a fall. Ground-level checks and firebox checks are yours. Everything above the roof line is a professional task.
- Ignoring rust streaks below the cap. Rust is water passing where it shouldn’t. Left alone, it leads to a corroded cap, then water in the chase, then interior damage. It’s a small repair today and a much larger one later.
- Booking the sweep only after a problem shows up. The annual sweep and inspection is a diagnostic, not just a cleaning. It’s how small issues are caught while they’re still small, and how a clean bill of health gets documented before the next burn season.
- Not keeping any record. Without dated photos and a log, every visit starts from scratch, and slow deterioration stays invisible. A simple photo file turns a vague “it looks fine” into real evidence you can compare year to year.
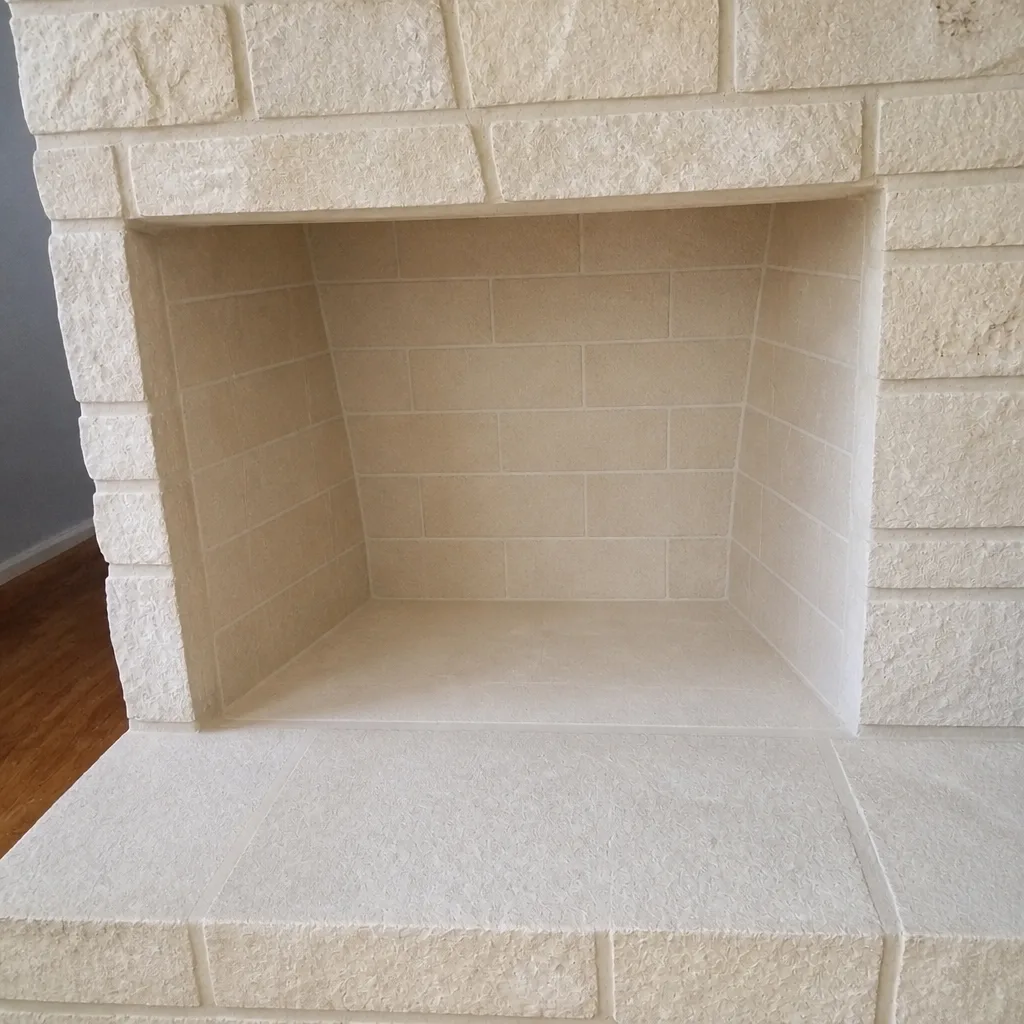
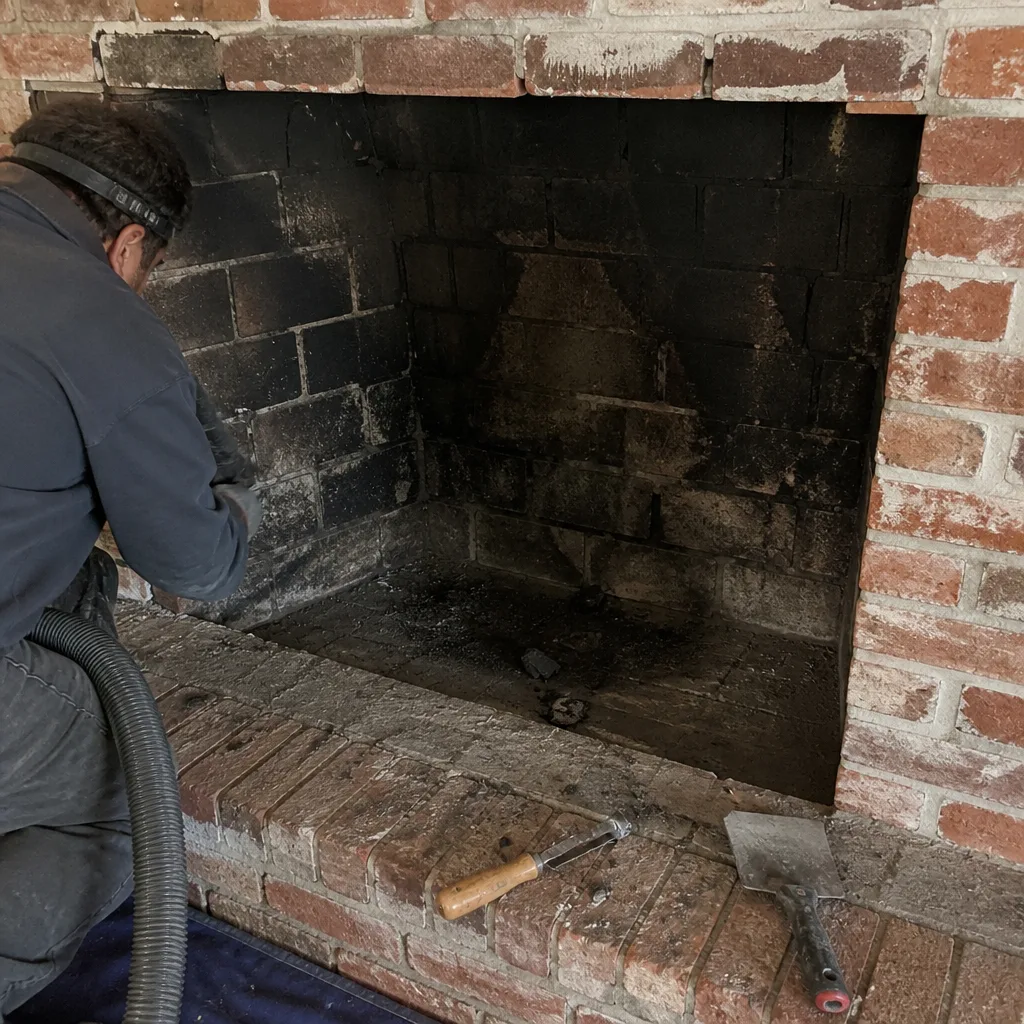
See the difference
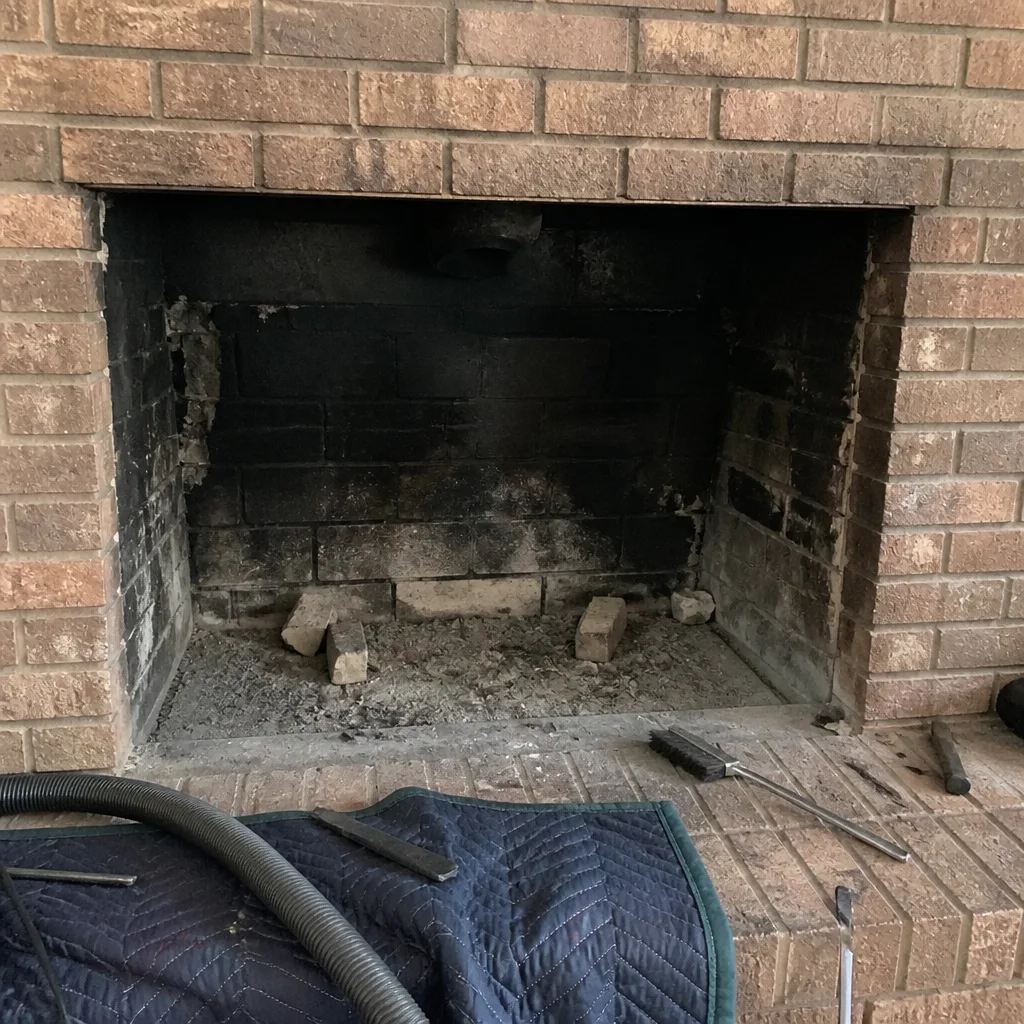 Before
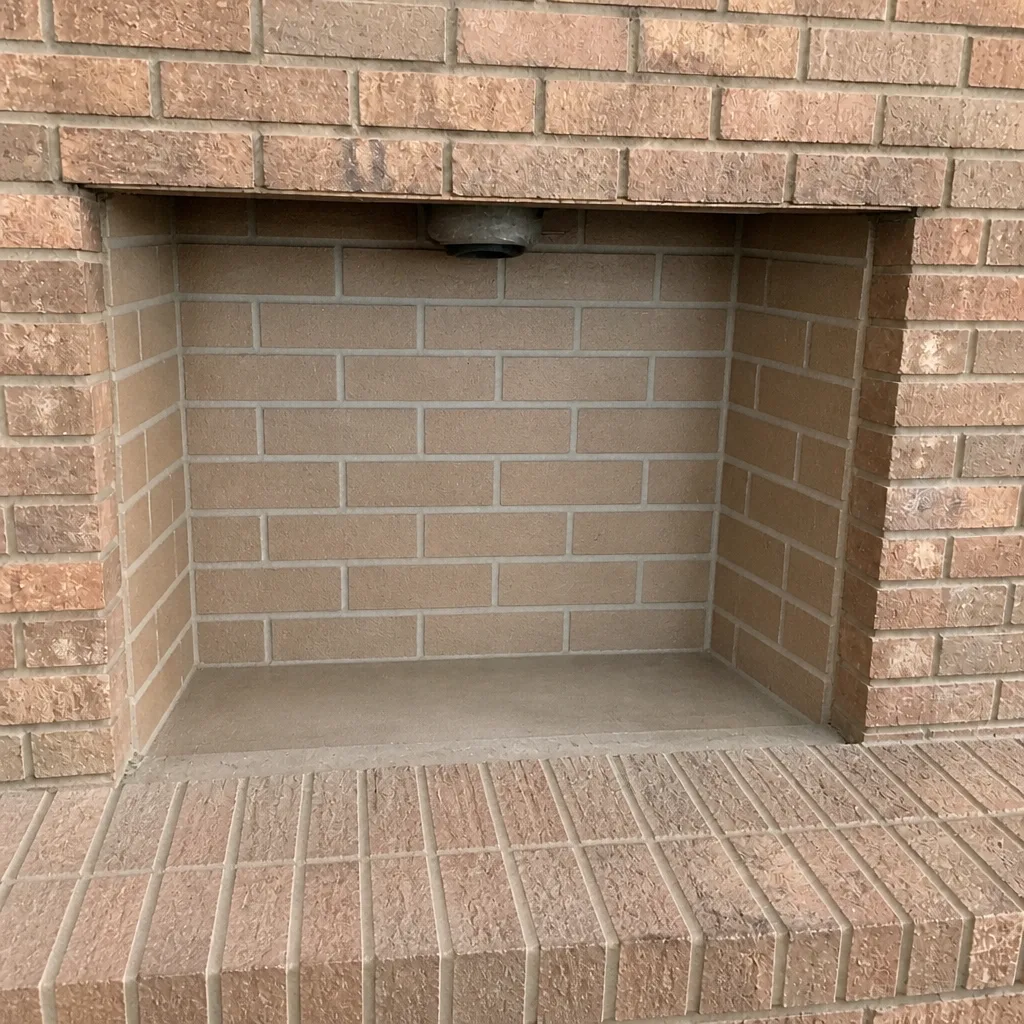 After
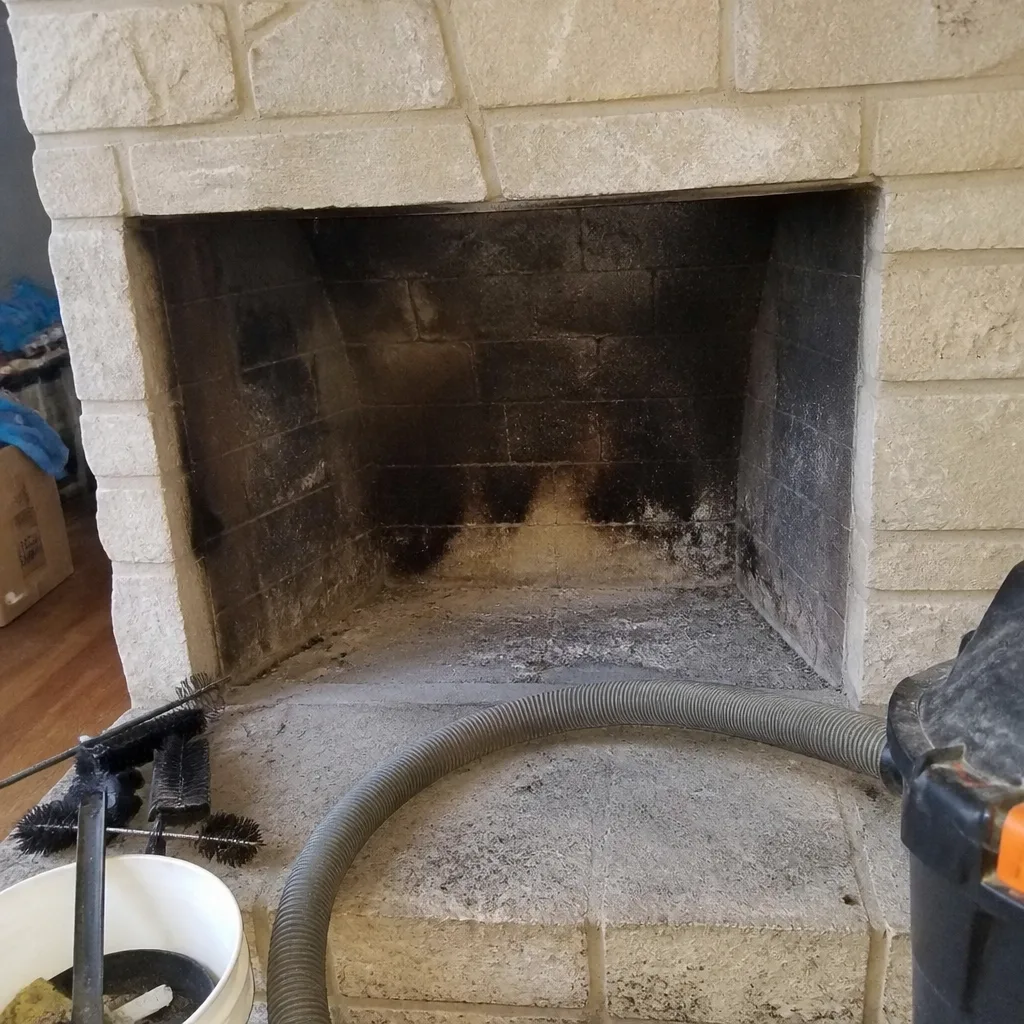 Before
 After
 Before
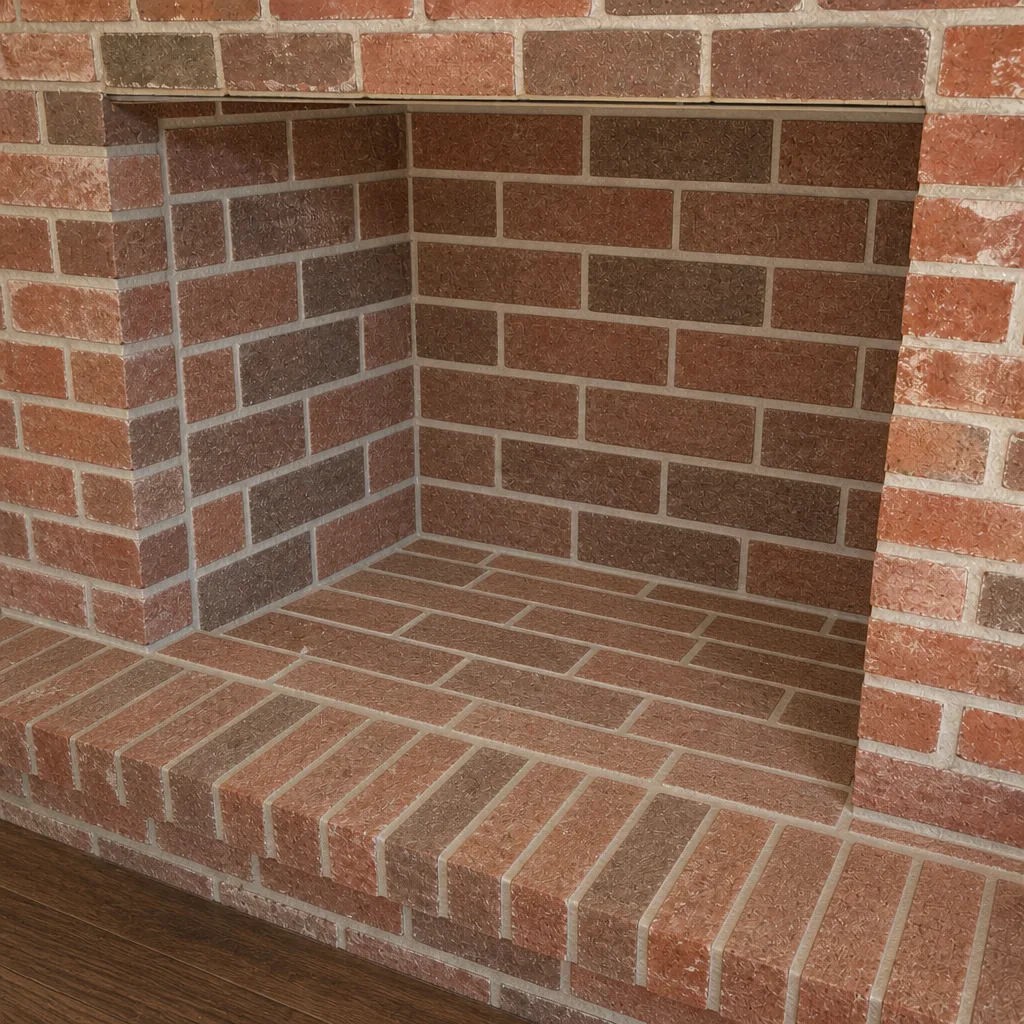 After
When to Call a Professional
Call a professional any time the check requires the roof, the interior flue, or masonry repair. Call when you see rust staining below the cap, efflorescence or new spalling on the chase, water pooling in the firebox, or a cap that shifted after a storm. Call when the damper won’t seat, when you smell smoke in the house on a warm day with no fire burning, or when you haven’t had an annual sweep and inspection in over a year. If you’re unsure whether a repair is urgent or can safely wait, that’s exactly the question a camera inspection answers – and you see the footage for yourself. Chimney Sweep Deltona offers free estimates in Deltona, handles sweeping, repair, and inspection in one relationship, and dispatches Sunday through Friday, 7am to 7pm. Call (888) 458-8065. We answer 24/7, with fast dispatch from 7am to 7pm. Our technicians have up to 9 years of experience, and we use professional-grade products – DuraFlex, HeatShield, Gelco, Olympia Chimney, Famco, and Copperfield – so you know exactly what’s going into your home.
Frequently Asked Questions
Do a ground-level visual check every month and a full professional sweep and inspection once a year, ideally in October before burn season. Add a post-storm exterior walk after every significant thunderstorm during hurricane season. Monthly checks catch the small stuff; the annual sweep and inspection catch what only a camera and a trained eye can see. Call (888) 458-8065 to book the annual visit – estimates are free.
Central Florida’s year-round humidity drives moisture into porous masonry, and when that moisture works back out it leaves white mineral staining (efflorescence) or causes brick faces to flake (spalling). Intermittent burning makes it worse, because a cold flue has long stretches to soak up moisture between fires. It’s slow and easy to miss month to month, which is why dated photos help. Call (888) 458-8065 to have it evaluated with a camera.
It depends on whether the cap body is corroded or just the mesh is torn. A torn screen alone is a quick fix, but rust staining below the cap usually means the cap itself is failing and letting water through. Galvanized caps like those from Gelco, Famco, and Olympia Chimney are durable, but corrosion in this humidity is a matter of time. A camera inspection tells you which situation you have. Call (888) 458-8065 for a free estimate.
You can safely clean fireplace glass, check the damper, and do ground-level and firebox visual checks. You shouldn’t brush the flue yourself. Proper cleaning means getting to the top of the flue safely and removing creosote past the light stage, which homeowner tools won’t touch. It also means a camera inspection, which is how the flue’s real condition gets confirmed. Call (888) 458-8065 and we’ll handle the full sweep.
Three things tend to happen quietly: creosote builds up to a stage that can fuel a chimney fire, moisture works into the masonry and starts spalling brick, and animals nest in an open flue. None of that shows obvious signs until it’s well along, which is why the annual sweep and inspection matters more than it looks. The camera inspection confirms what’s actually there before it becomes a repair. Call (888) 458-8065 – estimates are free.
You see the camera footage before anything gets recommended. A sweep that uses camera inspection and a written report lets you verify what’s being described, and a repair that can safely wait is a repair we’ll tell you can wait. Naming the products – DuraFlex, HeatShield, Gelco, Olympia Chimney, Famco, Copperfield – also lets you look them up and check the work. Call (888) 458-8065 for a free estimate and an inspection you can see.
The Bottom Line
A chimney maintenance checklist for a Deltona home works because it’s built for how chimneys actually fail here: humidity-driven mortar spalling, animal intrusion, and the slow wear of sporadic burning. The anchors are simple – monthly ground-level checks, an October sweep and inspection before burn season, a post-storm walk after every summer thunderstorm, and a spring moisture assessment before the rains. Keep dated photos so deterioration is visible year to year, and know the line between what you do yourself and what a trained sweep with a camera handles. Do that, and your annual check becomes a confirmation of safety rather than a discovery of damage. Full-service chimney care in Deltona means sweep, repair, and inspection from one specialist, and that’s what Chimney Sweep Deltona provides. Call (888) 458-8065. We answer 24/7, with fast dispatch from 7am to 7pm, Sunday through Friday.
Written by the team at Chimney Sweep Deltona.