
Last updated November 15, 2026
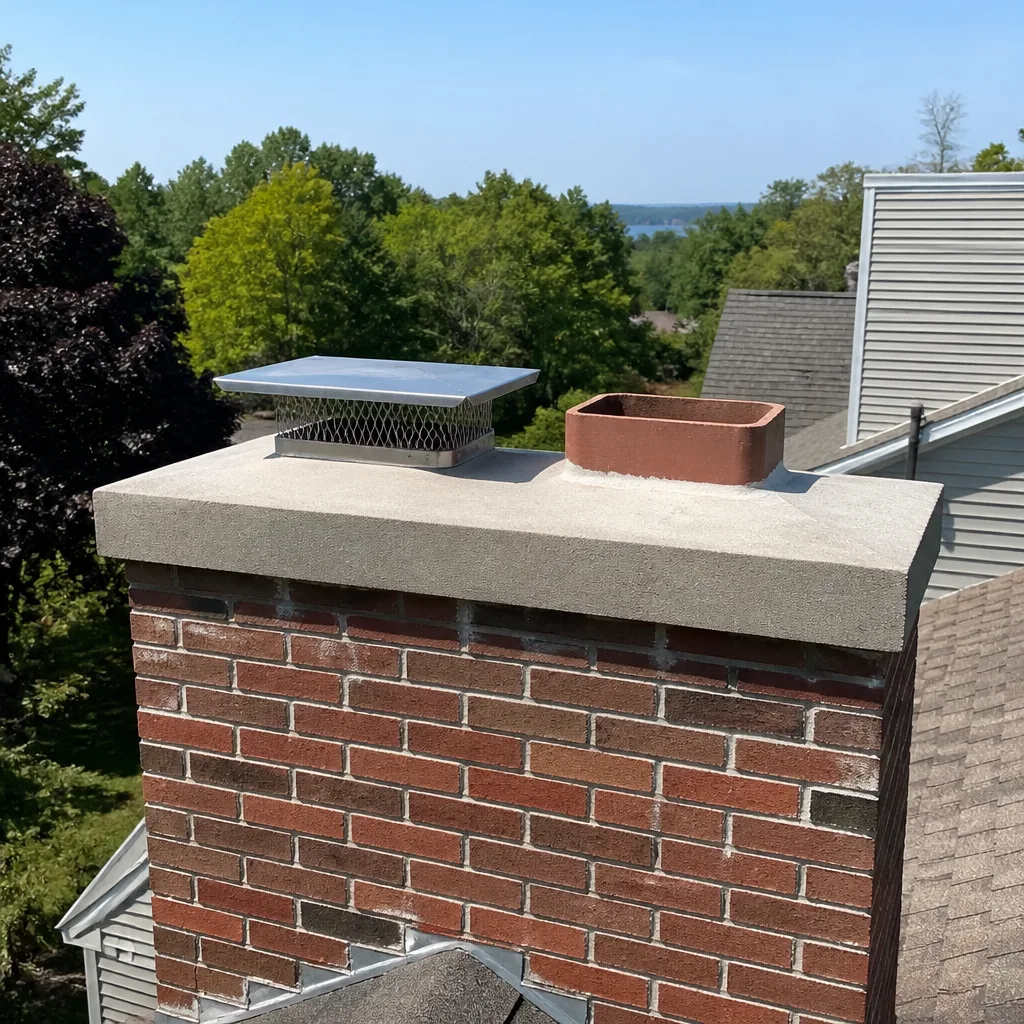 Sweep & inspection
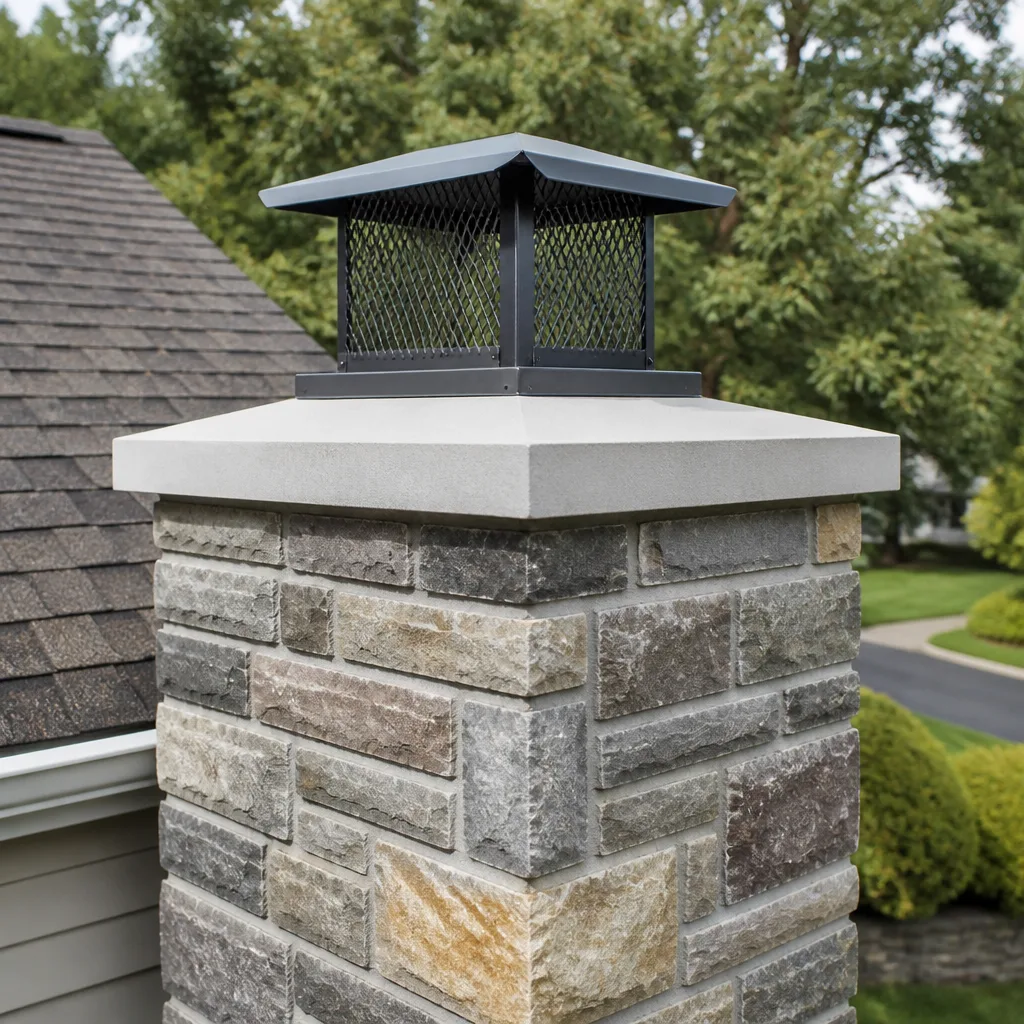 Caps & crowns
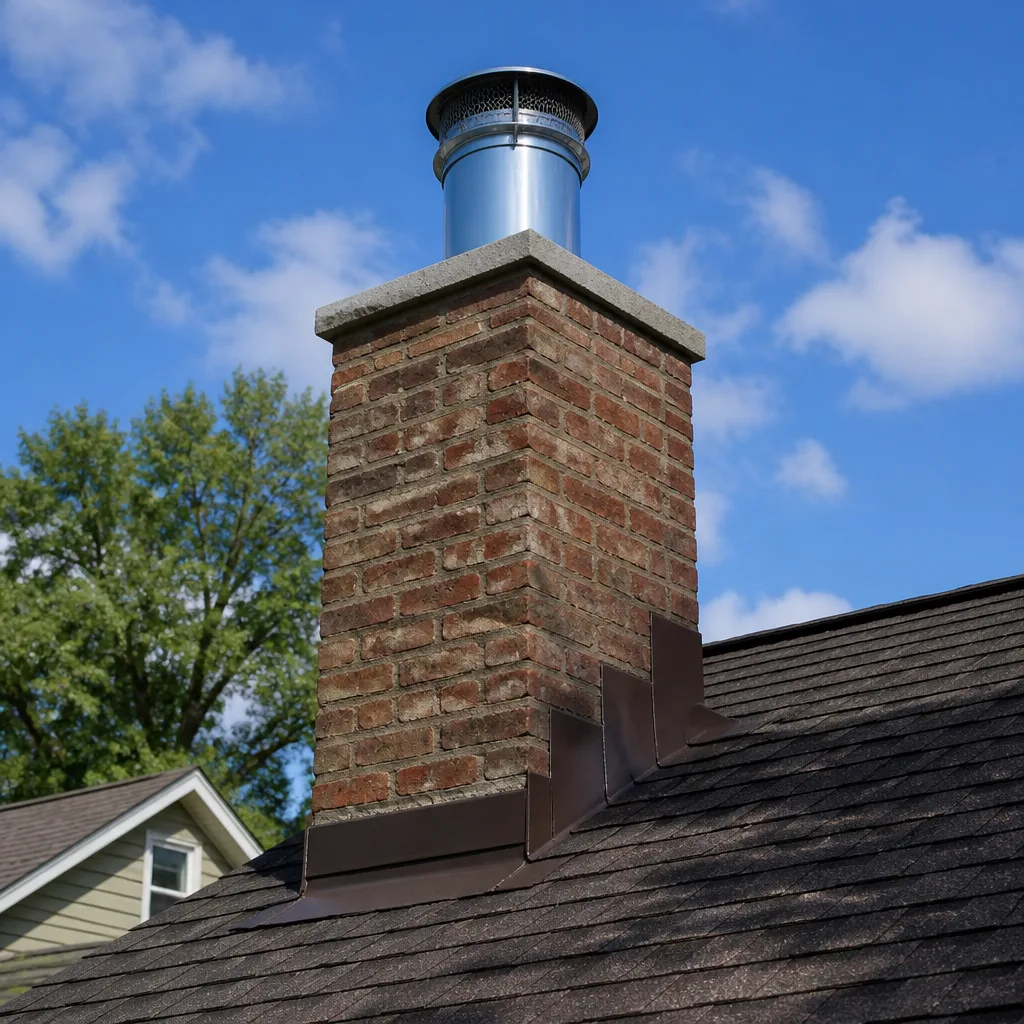 Flue relining
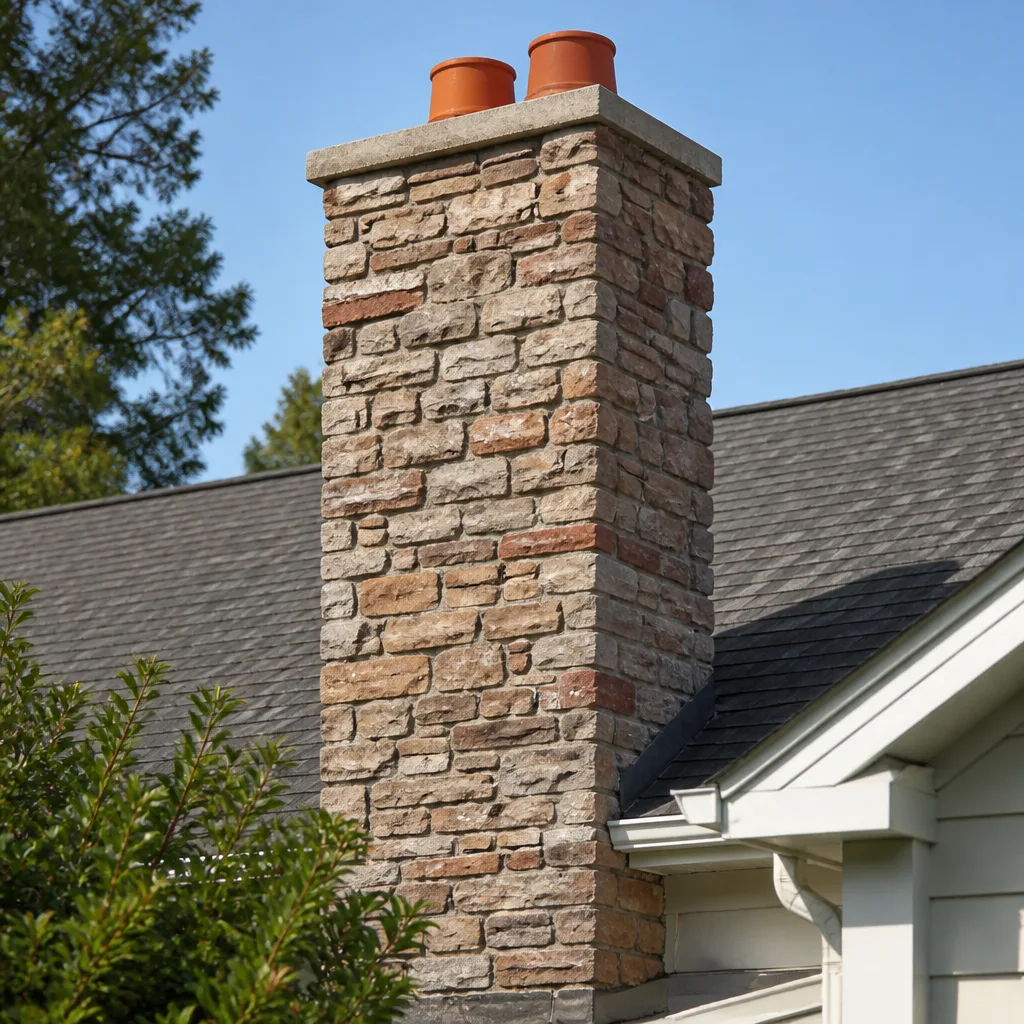 Masonry repair
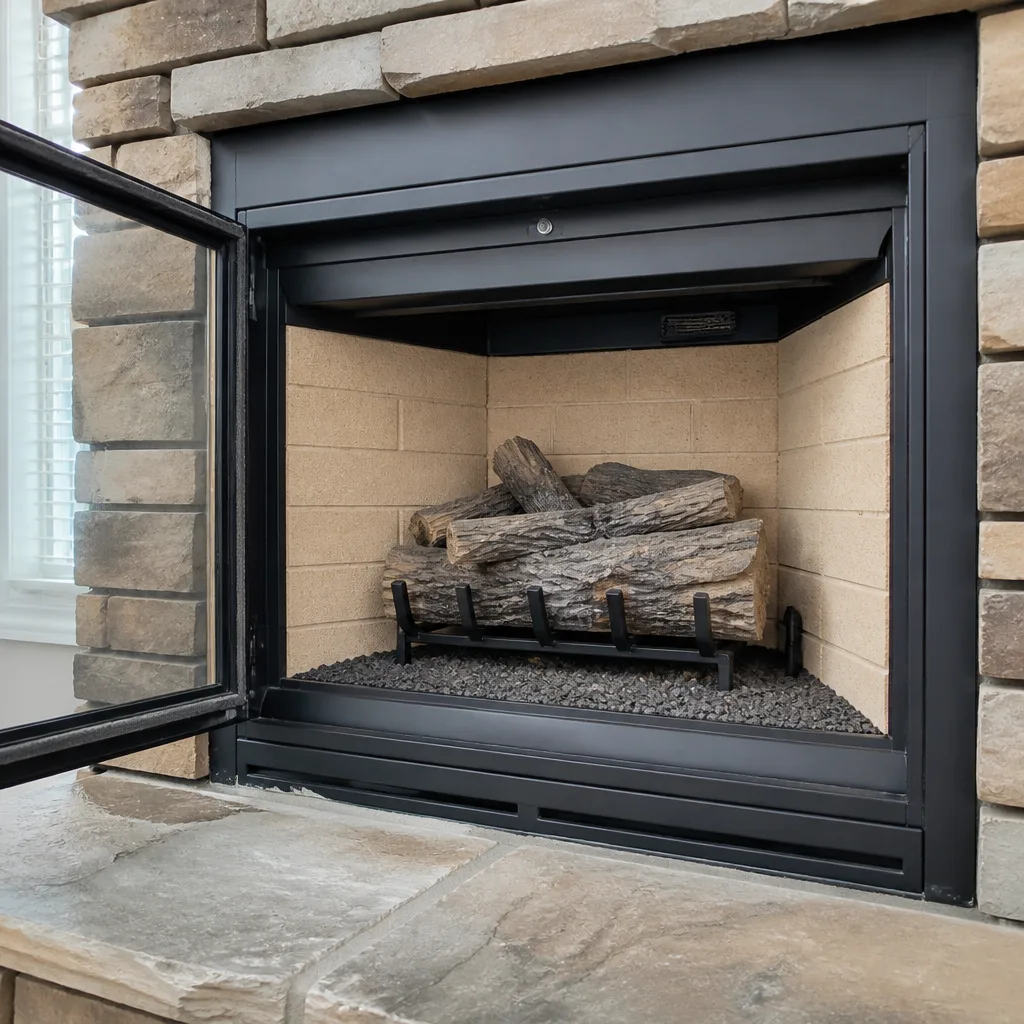 Gas fireplace service
Level 1 sweep and inspection to the NFPA 211 annual standard - flue, crown, cap, and flashing checked and photographed
Chimney sweep logs do not sweep chimneys. They loosen some creosote - which then falls where a brush and vacuum still have to collect it.
Chimney Sweep Maintenance Schedule: What to Do and When
Most chimney advice you’ll find online was written for houses that burn wood six months a year and sit under snow for four of them. Deltona doesn’t work that way. A fireplace here might run for fewer than 60 nights a year, and many winters you’ll skip a week or two entirely because the evenings stay mild. Yet the chimney itself faces moisture stress for all 365 days – the humid air, the summer downpours, the roof that stays wet for an hour after every afternoon storm. So the standard “get it swept before winter” calendar is answering the smaller half of the problem. In this guide we’ll lay out a maintenance schedule built around Central Florida’s rainy season instead of the first frost, with concrete tasks for each window and a record-keeping system you can actually stick to.
Quick Answer
A chimney in Deltona should be swept once a year if you burn wood regularly, inspected annually regardless of how often you burn, and checked after heavy summer rain for cap and flashing condition. The most important maintenance window here runs August through October (before burning season) and March through April (after it), with a mid-summer moisture check during the June – September rainy season.
Styles & brands we work with
- Sweep & inspection
- Caps & crowns
- Flue relining
- Masonry repair
- Gas fireplace service
Table of Contents
- Why the Standard Chimney Calendar Doesn’t Fit Deltona
- The Rainy Season Is Your Primary Maintenance Threat
- Pre-Season Tasks: August Through October
- Post-Season Tasks: March Through April
- The Mid-Summer Moisture Check
- Visual Check vs. Level 2 Camera Inspection: Which Do You Need?
- Cap and Crown Inspection: How Moisture Gets In
- Your Chimney Record-Keeping Template
Why the Standard Chimney Calendar Doesn’t Fit Deltona
Cold-climate chimney guides assume creosote accumulation is your main enemy, and that assumption drives the whole schedule: sweep before winter, inspect in fall, ignore the chimney in summer. That logic makes sense where the burn season runs from October to April and the air stays dry when the firebox is cold. It works less well in Deltona, where the burn season is short and the humid season is long.
Think about what a chimney actually does in a Deltona year. From roughly November through February you light fires on cool evenings. The flue warms up, creosote builds slowly, and by spring you have a modest deposit that a single sweep will clear. Then from June through September the chimney sits idle while humidity climbs and afternoon thunderstorms roll through several times a week. That’s the period that does quiet, cumulative damage – not the fire itself.
Moisture reaches a chimney through the top, not the firebox. A hairline crack in the crown, a cap that’s lost a screw, flashing that’s lifted a quarter inch from the roofline: none of these look dramatic, and none of them show up as a problem until water has been soaking the masonry for months. The water carries dissolved minerals into the brick, and when the brick dries it leaves salts behind that expand and flake the surface. Over time that eats into the mortar joints and eventually the flue itself.
What this means practically is that a Deltona homeowner’s maintenance calendar should be split roughly 60/40 between moisture management and creosote management, not 90/10 the way a northern guide would have it. The sweep still matters. The cap, crown, and flashing matter just as much.
If you want to understand how we approach the whole picture – sweep, repair, and inspection together – start at our home page for Chimney Sweep Deltona, which lays out the service categories in more detail.
The Rainy Season Is Your Primary Maintenance Threat
June through September is when a Deltona chimney takes its real beating. That’s the stretch when you’re least likely to think about the fireplace – it’s 92 degrees outside, the AC is running, and the chimney might as well not exist. It’s also the four months when the most water lands on your roof.
Water damage in a chimney rarely announces itself. By the time you see a stain on the ceiling or a musty smell in the living room, the moisture has usually been working for a while. If you have a masonry chimney, the sequence typically looks like this:
- Water enters through the crown, cap, or flashing during a heavy rain.
- Brick and mortar absorb it and hold it for days because the surrounding air is also humid, so the drying is slow.
- Salts form and flake the brick surface – what masons call spalling.
- Mortar joints soften and begin to crack, opening larger paths for water.
- The flue liner (clay tile, cast-in-place, or a stainless system) can begin to crack or shift as the masonry around it moves.
By the stage where mortar joints are soft, you’re no longer looking at a cleaning. You’re looking at repair. And a repair in July is more expensive in time and stress than a cap tightening in May would have been.
Gas fireplaces have their own rainy-season vulnerability: a damaged cap or crown can let water drip down the flue and reach metal vent components that weren’t designed for standing moisture. If your gas fireplace has a direct-vent termination on the roof or wall, check that termination box after any major storm – it should be sealed and firmly attached.
The practical takeaway is this: the month your air conditioner runs hardest is the month your chimney deserves the most attention. We know that’s counterintuitive. It’s also what we see most often when we do a chimney repair on a Deltona home in the fall.
Pre-Season Tasks: August Through October
The pre-season window – August, September, October – is your chance to get ahead of the burn season and the last couple months of rainy-season stress. Everything you do in this window protects the chimney through the winter when the fireplace is actually in use.
Here’s the sequence we recommend:
- Book the annual sweep and inspection together. Doing them as one visit keeps the record consistent and gives you a single written snapshot of the chimney’s condition going into the season.
- Check the cap and crown. Look for a cap that’s loose, rusted, or missing its bird screen. Look for visible cracks in the crown at the top of the masonry. Both are moisture-management items and both matter in Deltona’s humid setup. A cap from a brand like Gelco or Olympia Chimney will hold up well in this climate, and we specify either when a replacement is needed.
- Confirm the flue is clear. A bird, squirrel, or wasp nest in a flue is a real hazard, and it’s more common here than in cold climates because the chimney gives shelter year-round. The sweep stage of the visit handles this.
- Check the damper and smoke shelf. The damper should open and close freely and seal reasonably well. If it sticks, get it freed before you need it.
- Look for signs of water intrusion from the past season – staining on the firebox walls, rust on metal components, or crumbling mortar at the smoke chamber. If you see any, flag it for the technician.
- Verify carbon monoxide detectors in the living space. This isn’t a chimney task, but we put it on the pre-season list every year because it belongs with the idea of “safe to burn.”
What we look for during the pre-season inspection, specifically: the visual condition of the firebox walls and smoke chamber, the flue’s interior surface (which requires at least a camera view from the top down), the condition of the crown and cap, and the flashing where the chimney meets the roof. If the chimney hasn’t been inspected in more than a year, or if you’ve never had a Level 2 camera inspection on that flue, the pre-season visit is the right moment to change that.
Post-Season Tasks: March Through April
March and April close out the burn season. The fires are tapering off, the days are getting longer, and the chimney is about to sit idle for six months. What you do in this window sets up how the chimney handles the rainy season to come.
The main goals of the post-season visit:
- Clear what the season deposited. Even a light burn season leaves creosote, and what doesn’t get swept in spring sits on the flue walls through months of humidity. Creosote exposed to moisture is more difficult to remove than dry creosote, so a spring sweep makes the fall visit easier.
- Assess any change since the pre-season visit. Compare the camera findings from October to the camera findings in March. The comparison tells you whether the flue is stable or actively deteriorating, which is a much more useful judgment than a single snapshot.
- Repair anything the diagnosis flagged. Spring is the window for liner repairs, mortar work, or crown repair. If you wait until August, you’ll be rushing to get it done before the first cool evening.
- Photograph the chimney’s condition. Take pictures of the firebox, the top of the crown, the cap, and the exterior masonry. Keep them with your other records. A photograph from March compared to a photograph from the following March is often the difference between catching a spalling problem early and discovering it after it’s spread.
One thing worth knowing about this window: if the chimney needs a flue repair, spring is when a contractor has the clearest calendar and the masonry has the best curing conditions before the summer humidity arrives. A cast-in-place liner product like HeatShield, or a flexible stainless reline with a DuraFlex system, is applied in this window for a reason – it cures and stabilizes before the rainy season starts.
If your post-season inspection turns up a problem and you want to understand what a repair involves, our chimney sweep page covers the full service and the repair work that often follows.
The Mid-Summer Moisture Check
This is the step most Deltona homeowners skip, and it’s the one that makes the difference. Sometime between June and August, do a quick visual walk-around of the chimney from the ground. It takes five minutes. You’re looking for a handful of specific things:
- The cap. Is it still securely attached? Any rust visible at the seams? Any obvious gap where the cap meets the flue?
- The crown. From the ground you can usually see the crown’s outline even if you can’t see the surface. Look for a visible crack, a piece missing, or a shape that doesn’t match the rest of the chimney top.
- The flashing. Where the chimney meets the roof, is there any lifting or gap in the metal? Is there a dark stain on the shingles or underlayment that suggests water is getting under?
- The exterior masonry. Any new spalling, white mineral deposits (efflorescence), or visible mortar gaps? Compare against your March photos.
- The interior. Any staining on the ceiling near the chimney chase, musty smell, or noticeable dampness around the firebox?
If everything looks unchanged, you’ve done the five-minute check and you can go back to summer. If something looks different – a crack in the crown that wasn’t there in March, a cap that’s shifted, or a ceiling stain near the chase – that’s a call-a-professional moment. Get someone out to look before the rainy season does another month of damage.
If you’re on the ground looking at a Deltona chimney in July and you’re not sure what you’re seeing, that’s fine. Send us a photo, or call and we’ll schedule a visit. We show you what we find before recommending any repair.
Visual Check vs. Level 2 Camera Inspection: Which Do You Need?
Chimney inspections are classified in levels (Level 1, Level 2, Level 3) by NFPA 211, the standard for chimneys and venting. The distinction matters because 90% of what a homeowner actually needs to know is which level to ask for, and most chimney companies don’t explain the difference in plain English.
A Level 1 inspection is the basic annual check. The technician looks at all accessible parts of the chimney and venting – firebox, damper, visible flue surfaces, exterior below the roofline, and the cap and crown from the roof if accessible – and confirms nothing looks damaged or obstructed. It doesn’t require a camera. It’s appropriate when the chimney is in known good condition and nothing has changed since the last visit.
A Level 2 inspection adds a camera scan of the flue’s interior from top to bottom, plus a closer look at accessible attic and crawlspace areas if relevant. The camera goes where a visual inspection can’t reach, and the findings are recorded on video and photographs. It’s required (or strongly recommended) in these situations:
- Any change in the fuel type or venting system – for example, a switch from wood to gas, or a new insert.
- Sale or transfer of the property (many insurers ask for it).
- After any event that might have damaged the chimney – a chimney fire, a major storm, or a nearby lightning strike.
- Any time you’re seeing symptoms you can’t explain – smoke rollback, odors, water stains, or a persistent draft problem.
- If you’ve never had one done on that flue, ever.
A Level 3 inspection is rare and only done when a specific hazard requires opening up concealed parts of the chimney – a wall, a chase, or masonry. It’s a diagnosis of last resort, not a routine service.
For most Deltona homeowners, the right setup is: a Level 1 every year alongside the annual sweep, and a Level 2 at least once to establish a baseline, then again whenever something changes. If the camera shows a stable flue, comparing future scans to it becomes a genuinely useful diagnostic tool.
Our technicians have up to 9 years of experience doing exactly this kind of comparison work, and we include the camera findings and photographs in the written report on every Level 2 we perform.
Cap and Crown Inspection: How Moisture Gets In
There are only a few places water can get into a chimney, and the cap and crown together account for most of them. Since moisture is the number-one long-term threat to a Deltona chimney, the cap and crown deserve a specific look at every service visit.
The cap is the metal hood at the top of the flue, mounted on a mesh or solid-base attachment. Its job is to keep rain and animals out while letting smoke and gases escape. A cap in good condition does all three. A cap with a problem can do none of them reliably.
What we check on a cap:
- Attachment. Screws or brackets still tight? Any indication the cap has shifted off center?
- Seams and fasteners. Rust that’s progressed to the point of perforation means the cap can’t keep water out.
- Mesh integrity. The spark-arresting mesh or bird screen should be intact. A torn screen invites animals in.
- Clearance. The cap should sit high enough off the flue that gases clear the top without turbulence. A cap installed too low can create draft problems.
The crown is the concrete or mortar surface at the very top of the masonry, around the flue. It’s angled slightly so water runs off toward the edges. When the crown cracks – and in the Deltona heat and humidity, over a five- to ten-year window, they do – water runs into the crack and straight down into the masonry.
What we check on a crown:
- Cracks. Any crack wider than a hairline is worth a closer look, and cracks that extend across the crown are a bigger concern than cracks confined to the edge.
- Slope. The crown should slope away from the flue. A flat or negatively-sloped crown holds water.
- Bond to the flue tile. Where the crown meets the flue tile, the seal needs to be continuous. A visible gap is a direct water path.
- Surface erosion. Anywhere the top layer has worn away and exposed the aggregate underneath is a starting point for a larger failure.
When a cap needs replacing, we specify products from brands like Copperfield or Gelco – both are built for the moisture exposure a Florida chimney sees. When a crown needs repair, we often reach for HeatShield ceramic resurfacing, which can repair a damaged crown or liner without tearing out the whole structure. If the flue itself is showing damage from years of water intrusion, a DuraFlex flexible reline can restore it without rebuilding the chimney from the ground up.
Getting the cap and crown right is one of the cheapest and highest-leverage moves in the whole maintenance schedule. If you haven’t had them checked in the past year, that’s the place to start.
Your Chimney Record-Keeping Template
A chimney is a system that changes slowly. The problem with annual servicing – or skipping it – is that nobody remembers what the chimney looked like last year. A simple record lets you compare this year’s findings against last year’s, spot trends, and give any future service provider a clear picture before they start.
You don’t need anything complicated. A folder and a simple table will do. Here’s the template we recommend:
Chimney Service Log
| Date | Service | Technician / Company | Findings | Action Taken | Product / Brand Installed |
|---|---|---|---|---|---|
| Month/Day/Year | Sweep, Level 1 Inspection, Level 2 Inspection, Repair, Cap Replacement, Crown Repair, Reline | Name and company | Creosote stage (Stage 1, 2, or 3), soot presence, flue condition, crown condition, cap condition, flashing condition, damper condition, evidence of water intrusion | What was done, or “recommended for later” with a target window | If a product was installed, note it – e.g., Gelco cap, HeatShield ceramic resurfacing, DuraFlex reline, Olympia Chimney component |
| Month/Day/Year | (repeat for each service visit) |
Alongside the table, keep a small photo folder. Name each file with the date and location – “2026-03 crown from roof” or “2026-03 cap closeup.” Photographs give you a visual baseline that a written description can’t. A spalling brick in March compared to the same brick in October tells you in five seconds whether the problem is progressing or stabilized.
What to Track Between Visits
- Creosote stage. This is the one number worth tracking carefully. Stage 1 is light and flaky, Stage 2 is sticky and heavier, and Stage 3 is glazed and hard, meaning the sweep was due sooner than it happened.
- Liner condition notes. Any comments on cracks, separations, or spalling inside the flue.
- Exterior condition notes. Crown, cap, flashing, and masonry condition at each visit.
- Product installations. If a product was installed, name it and the install date. Future service providers can look up the specifications and the expected service life.
- Recommendations not yet done. If a repair was suggested but you decided to wait, keep the note. It’s easy to forget something was flagged six months ago.
A written estimate from a professional sweep makes this easier; a good one will include the camera findings, the photographs, and a specific diagnosis, not just “swept, chimney in good condition.” We show you what we find before recommending any repair, and we put it in writing for exactly this reason.
Whether you live in Deltona’s Victoria Park area or off Providence Boulevard near the older housing stock, the record works the same way. A chimney’s history matters more than any single visit.
Common Mistakes to Avoid
- Treating the annual sweep as the whole maintenance plan. A sweep cleans the flue; it doesn’t check the cap, crown, flashing, or masonry. Those are separate items and they’re the ones that cause the expensive problems here.
- Skipping the mid-summer moisture check. It’s five minutes on the ground, and it catches crown and cap problems before the rainy season pushes them into the masonry. Deltona’s June – September storms are when the damage gets done, not the winter.
- Replacing a cap the cheapest way possible. A low-end cap on a Deltona chimney often rusts through in a few seasons. Specify a product built for the humidity – Copperfield and Gelco both are.
- Assuming a gas fireplace doesn’t need maintenance. Gas units don’t build creosote the way wood does, but their venting, cap, and termination box still need an annual check, and moisture damage to a direct-vent system is expensive to fix.
- Waiting to see a stain on the ceiling before calling. A ceiling stain is usually the last sign in a sequence that started with a crown crack months earlier. Get the chimney looked at when you first spot exterior symptoms.
- Never doing a Level 2 camera inspection. Without a camera baseline, future change is invisible. One Level 2 early in your ownership gives you a reference point for everything that follows.
- Burning unseasoned wood to “save money.” Green wood deposits more creosote per hour of burn, and creosote on a humid Florida flue is harder to remove. Seasoned firewood is a maintenance investment, not a luxury.
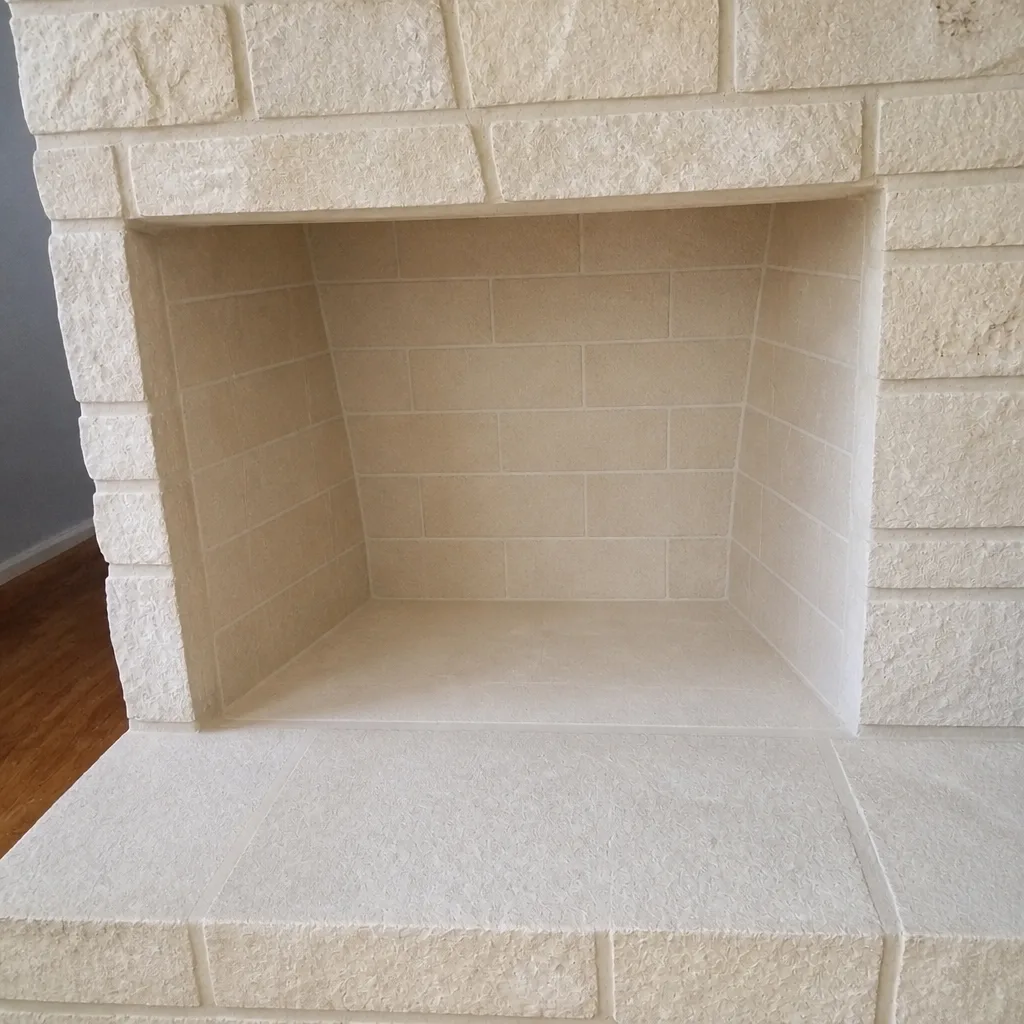
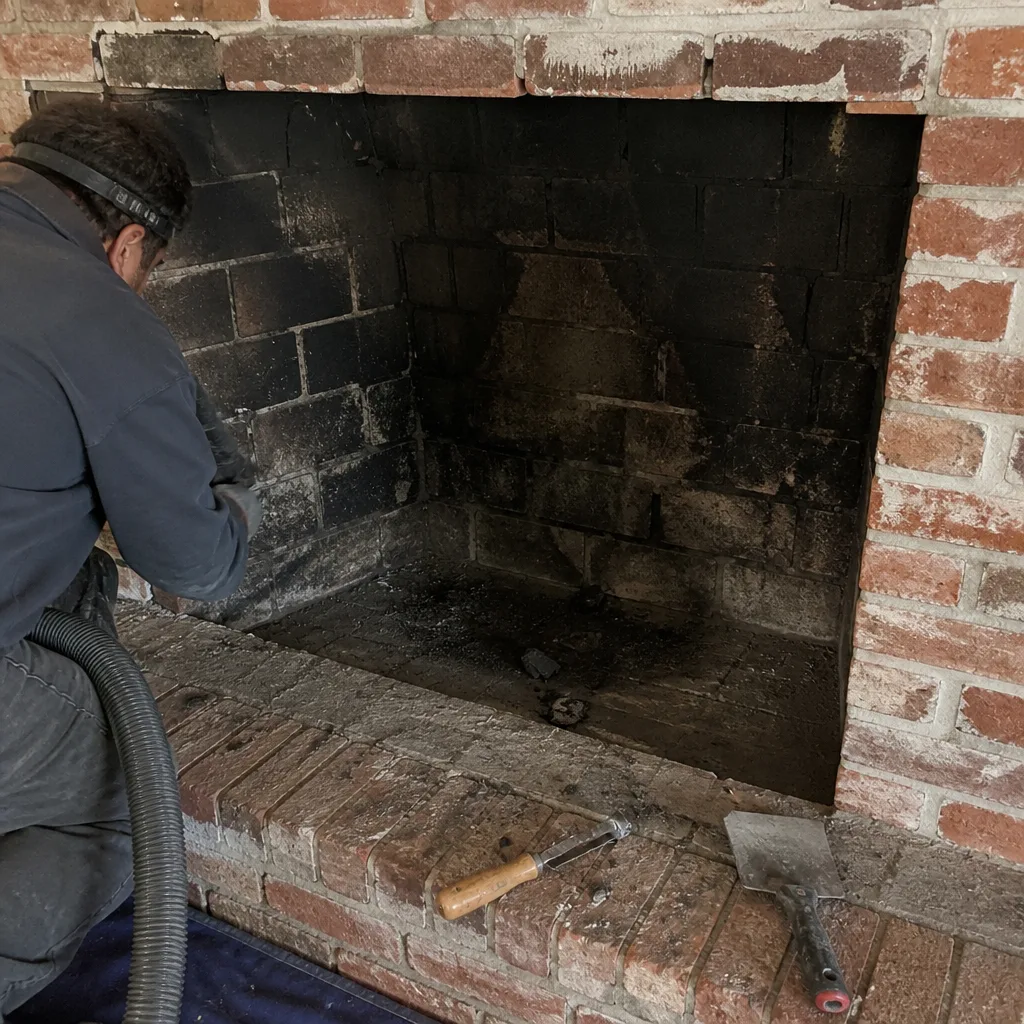
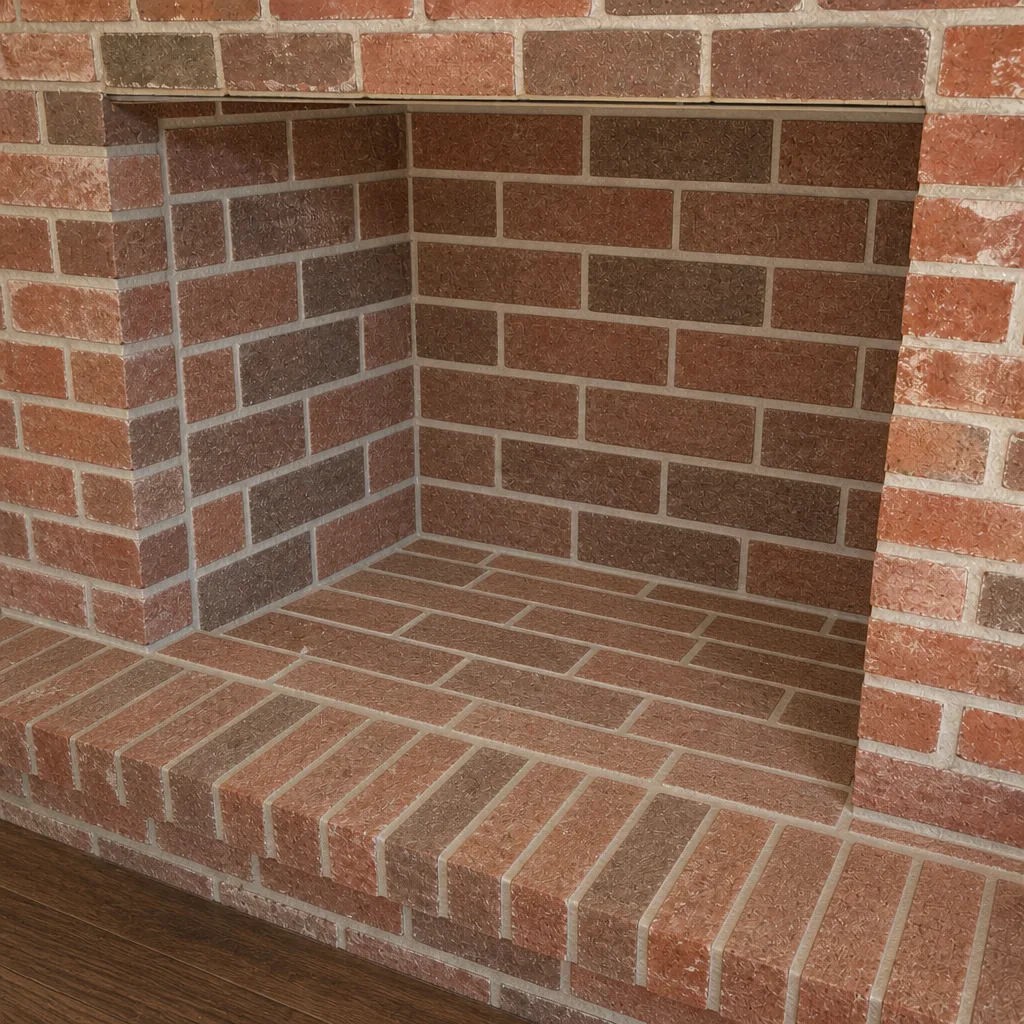
See the difference
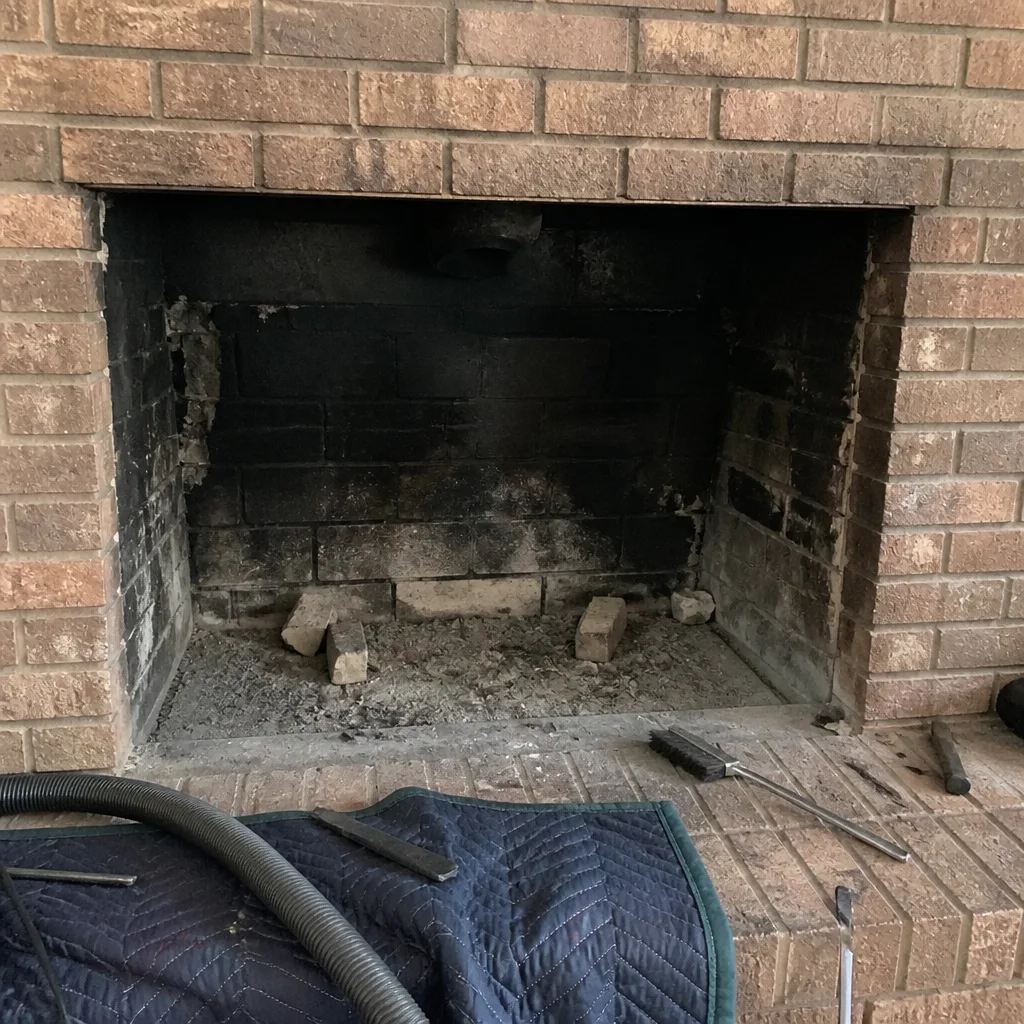 Before
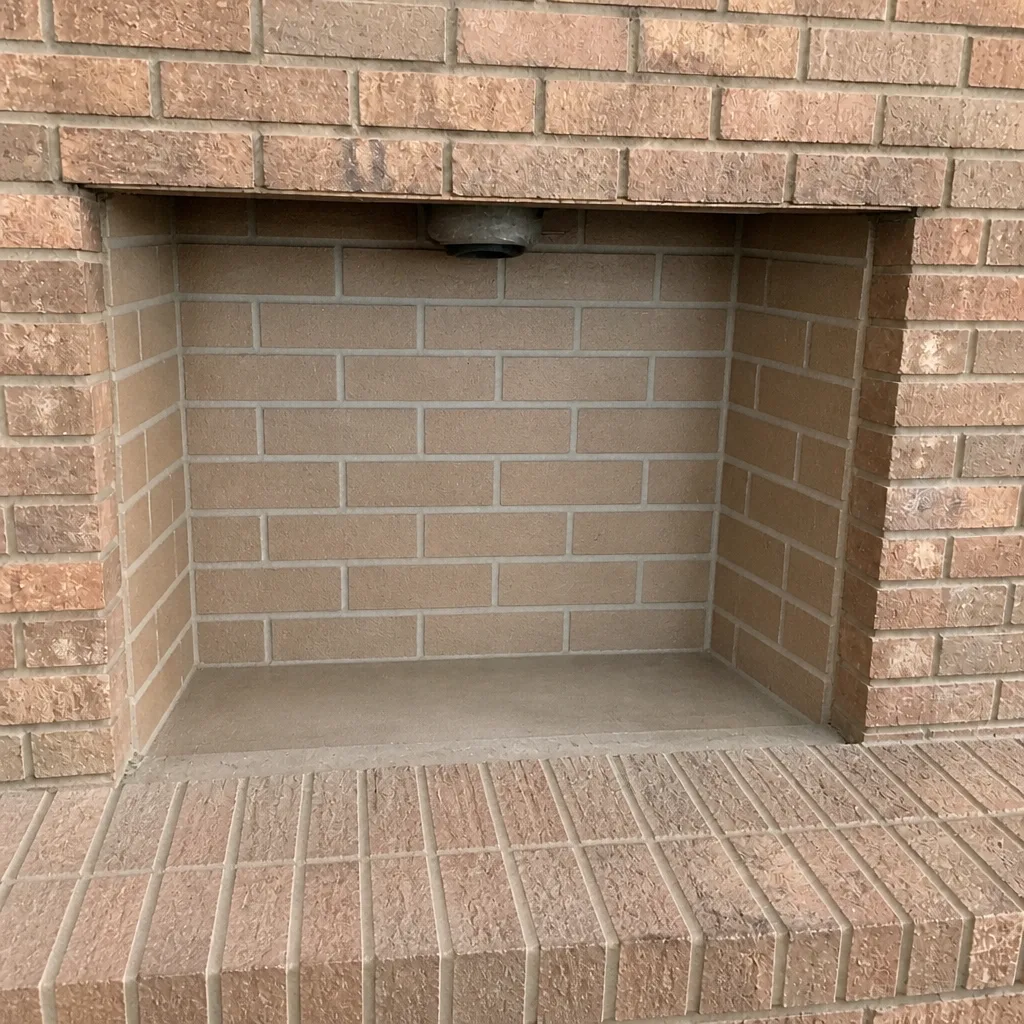 After
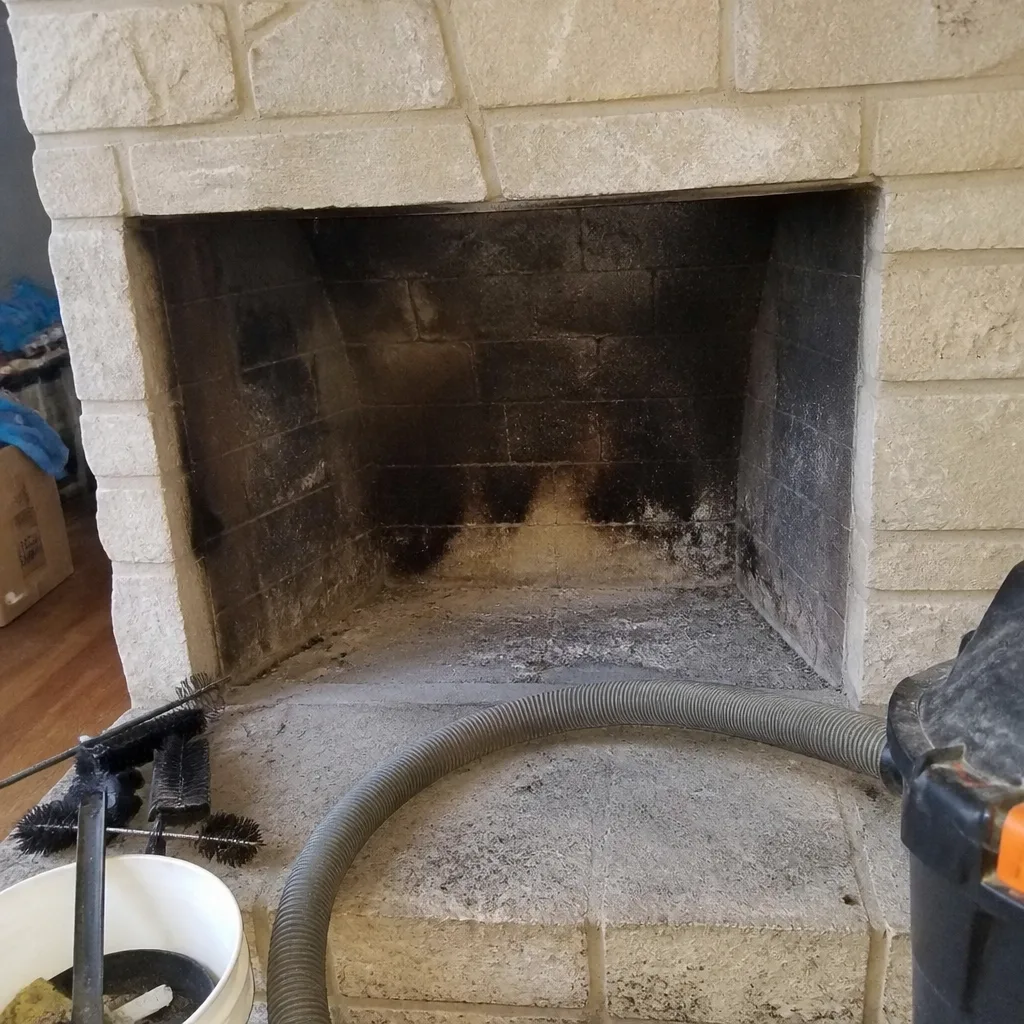 Before
 After
 Before
 After
When to Call a Professional
Some chimney work is a homeowner’s to manage. Most of it isn’t. Call a professional when any of the following is true: your flue has never had a Level 2 inspection, your chimney has had a fire (even a small one), you’re seeing smoke rollback or a persistent odor, you’ve noticed a ceiling stain or musty smell near the chase, your crown has a visible crack, your cap is loose or rusted through, your flashing is lifting, or your post-season inspection turned up spalling or mortar damage that’s new. You should also call if your homeowner’s insurance is asking for a chimney inspection before renewal, or if you’re selling the house and the buyer’s inspector flagged the chimney.
If any of these apply, or if you simply can’t remember the last time the chimney was looked at, that’s reason enough. Chimney Sweep Deltona offers free estimates in Deltona – call (888) 458-8065. We answer 24/7. Fast dispatch from 7am to 7pm, Sunday through Friday. A call outside dispatch hours is booked into the next opening.
Frequently Asked Questions
Once a year if you burn wood regularly, and once every two years if you burn only occasionally with well-seasoned wood. Because Deltona’s burn season is short, many homes can go a bit longer between sweeps than a northern climate would allow, but the annual inspection should still happen every year regardless – the inspection is what catches moisture damage and structural issues, and those happen year-round. Call (888) 458-8065 for a free estimate and we’ll tell you honestly whether the sweep is due.
A Level 1 inspection is enough for a chimney in known good condition that hasn’t changed since its last service. A Level 2 camera inspection is warranted any time the fuel or venting changes, after a chimney fire or major storm, at property transfer, or whenever you’re seeing symptoms like smoke rollback, odors, or water intrusion that can’t be explained visually. If you’ve never had one done, getting a Level 2 baseline is worthwhile. Call (888) 458-8065 to schedule one – estimates are free.
Deltona’s rainy season, roughly June through September, is the primary driver of long-term chimney damage here, not the winter burn season. Water enters through the cap, crown, or flashing during heavy rain and soaks into the masonry, which dries slowly because the surrounding air is also humid. Over several seasons that causes spalling brick, softened mortar, and eventually flue damage. A cap and crown inspection in spring and a five-minute visual check in mid-summer is the practical defense. If you notice anything changed around the chimney top, call (888) 458-8065 for a look.
The cap is the metal hood on top of the flue that keeps rain and animals out; the crown is the concrete or mortar surface at the top of the masonry, around the flue. Both are moisture-management components. A failed cap lets water into the flue; a cracked crown lets water into the masonry. Both are relatively inexpensive to fix when caught early and expensive when left alone. We inspect both at every service visit and specify products built for this climate – Copperfield or Gelco for caps, HeatShield ceramic resurfacing for crowns and liners when the underlying structure can be saved. Call (888) 458-8065 for a free estimate.
Not always. A damaged flue can be addressed in several ways depending on its condition. HeatShield ceramic resurfacing can repair certain liner problems without tearing out the existing structure, and a DuraFlex flexible reline can restore a flue that’s deteriorated past the point of resurfacing. Both are professional-grade systems we’ve worked with extensively. What you need is a diagnosis grounded in camera evidence, not a recommendation made before the inspection. Call (888) 458-8065 to schedule the inspection – estimates are free, and we show you what we find.
Don’t skip the inspection even if you skip the sweep. A light burn year often means less creosote, so the sweep itself might not be needed – but the moisture exposure over a Deltona summer doesn’t care how much you burned. A crown crack, a loose cap, or a flashing issue can develop in a year you barely used the fireplace. The inspection catches those regardless. Call (888) 458-8065 for a free estimate and we’ll tell you what your chimney actually needs, not what a service menu says it should get.
The Bottom Line
The maintenance schedule that protects a Deltona chimney isn’t the one written for cold-climate homes. Build your year around two service windows – August through October before burn season, and March through April after it – and add a five-minute moisture check during the June – September rainy season. Get the chimney swept annually if you burn wood, inspected every year regardless, and a Level 2 camera inspection at least once to establish a baseline. Focus hardest on cap and crown condition, because in this climate that’s where most of the real damage starts. Keep a simple written and photographic record so each visit compares to the last. Then the fireplace stays safe to burn for another season, and the chimney stays sound through every one after it.
If you’d like help getting on a schedule that fits your home, call (888) 458-8065 for a free estimate. We answer 24/7. Fast dispatch from 7am to 7pm, Sunday through Friday. Our technicians have up to 9 years of experience, and we work with professional-grade materials – HeatShield, Gelco, Olympia Chimney, Famco, Copperfield, and DuraFlex – because you deserve to know exactly what’s going into your home.
You can also start by reading more about our full-service chimney care in Deltona.
Written by the team at Chimney Sweep Deltona.